Filming can be the task you mean to do all day and only remember once the room is empty. When you’re concentrating on a client, stopping to work out a camera angle can feel like too much to add.
Let’s decide on the shots beforehand. We’ll put together a small set of steady clips that shows a first visit, then turn those clips into a simple Reel. You can start with the room-only version if that’s easier.
What should an esthetician film for a treatment Reel?
Choose what you want someone to understand before you pick up the phone. For a first-visit Reel, these four shots give you a clear beginning and ending:
1 · The space
Start with the doorway or prepared treatment room, so a new viewer can picture where they’ll be going.
2 · The preparation
Before the client arrives, record yourself laying out a towel or preparing the room. Choose something you can do comfortably with the camera already set up.
3 · One treatment detail
If you have permission, show one short, safe part of the appointment. Keep care and hygiene first, and leave out any shot that would interfere with them.
4 · The next step
Finish with you or the prepared room, leaving space to add the appointment name and booking route.
If a client doesn’t want to be filmed, use the first, second and fourth shots. Those give you a complete room tour without including anyone receiving treatment.
Where should you put your phone?
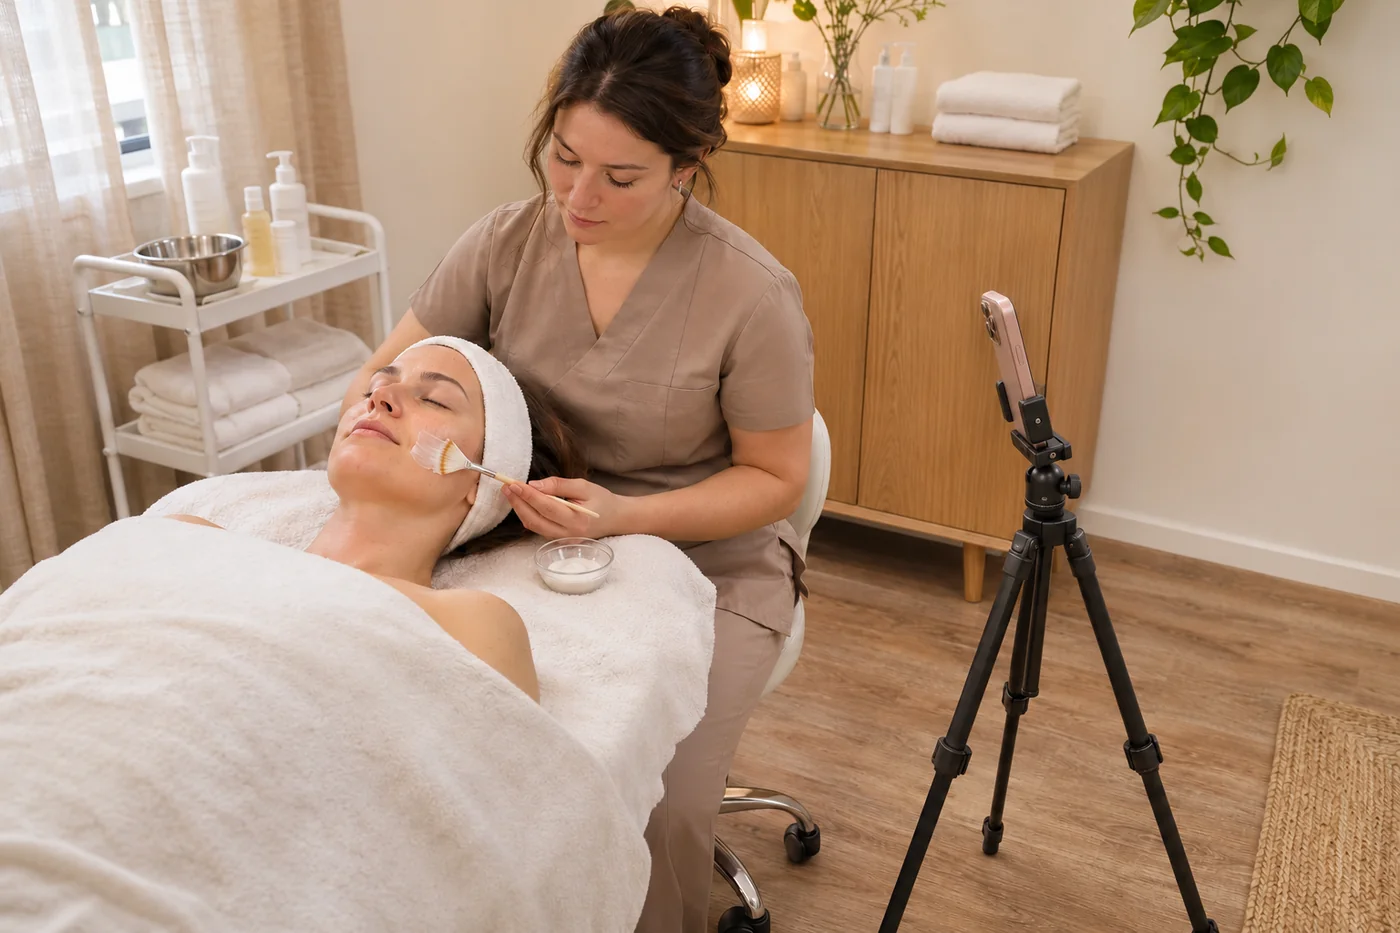 AI-generated setup example.
- Clean the lens and hold the phone upright. Vertical footage fits a full-screen Reel. Leave space around the action for any words you add later.
- Use a stable support. Place a tripod beside the work area, away from walkways and the client. Do not balance a phone above someone’s face.
- Check the light. Make a short test clip. Move the setup if the important detail is hidden in shadow or the bright background washes it out.
- Record one action at a time. Hold the shot steady for a few seconds before and after the movement. That gives you room to trim.
Set the camera up before a step that needs your full attention, or ask someone else to film. Keep private screens, forms and other clients out of view. If filming gets in the way of care, you can leave that clip for another time.
See how a real skincare studio uses video
Show the detail clearly
In this Nakie Face Reel, close views make the area being discussed easy to see. That’s the framing choice to look at when planning your own shots.
You could introduce your own clip with a room shot, then move closer to the detail you’re explaining. Add a short explanation of the step you’re showing, using the words you’d say to a client.
This studio event Reel takes a different approach by showing the setting and activity. You can borrow that idea on a small scale with a doorway shot, the prepared room and a welcome from you.
How do you turn the clips into one simple Reel?
Choose the clearest version of each shot and place them in the order a visitor would experience them: arrive, prepare, see a detail and find the next step. If two clips tell the same part of the story, keep the stronger one.
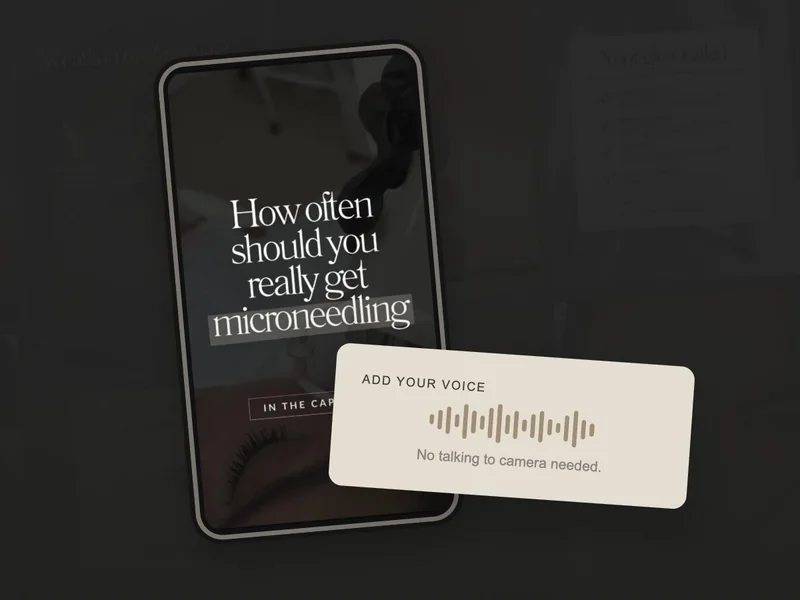
Change the words to match your process. You can put them on screen or follow our Canva voiceover guide to record them separately. Leave room around important text so Instagram’s buttons won’t cover it.
Watch the saved Reel on your phone before sharing. Look at whether the image is clear, whether you can read the words and whether the booking instruction matches the link on your profile.
If treatment filming still feels like a lot, finish the room-only version first. You’ll have a useful introduction to your studio and a filming sequence you can return to when you’re ready for more.