You sit down to make one Instagram post, then spend the time hunting for a photo, changing the subject and opening Canva before you know what to write. By the time you’ve made those decisions, finishing the post can feel like another job.
Batching gives each part its own turn. We’ll prepare a small group of posts together, so you can stay with one kind of task before moving on to the next.
What does batching skincare content actually mean?
You might have a burst of motivation one evening, then struggle to keep posting once the week gets busy. Batching gives you a routine to come back to: set aside time to prepare a few posts together, so each one doesn’t become a separate job squeezed between appointments.
We’ll use three posts for one week, choosing topics first, gathering the images, writing captions and then editing the designs. This is an example you can scale down. If two posts fit your week better, work with two.
Explain
Answer one question about a first facial.
Show
Give a short look inside your treatment room.
Invite
Explain where a new client should book.
Gather what your three skincare posts need
Make one folder for the week and gather only what these posts need: a room photo, three short preparation clips and your chosen template. That gives you a small set to work from instead of reopening your whole camera roll each time.
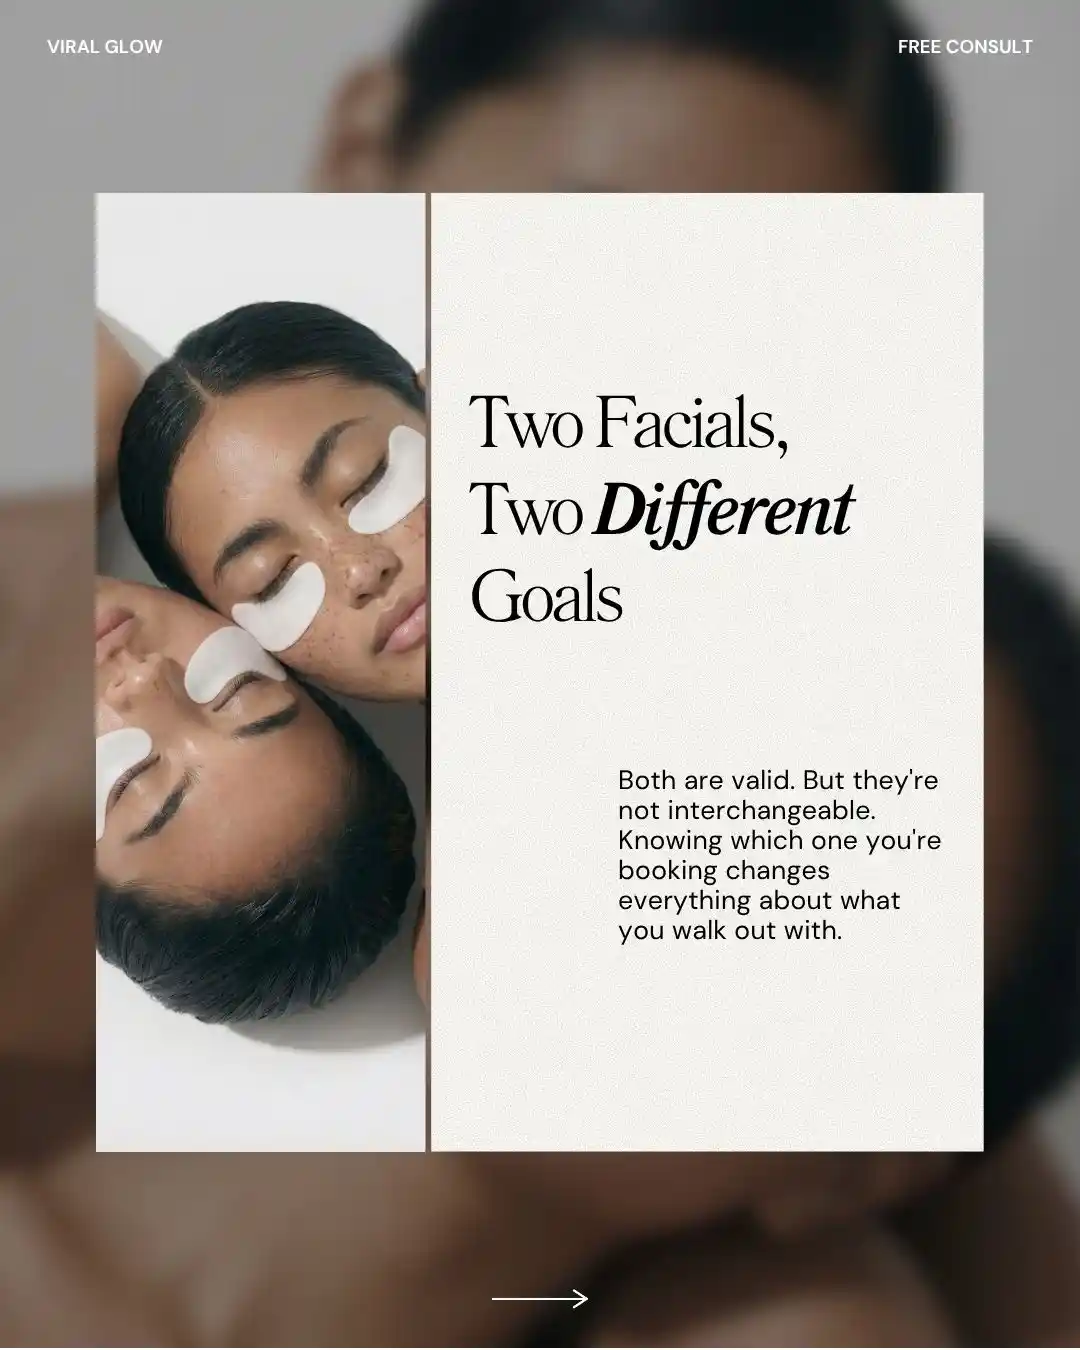
Our example starts with “Which facial should I book first?” One post will explain your first-visit option, a room Reel will show where it happens, and an invitation will help someone find available appointments. You’re giving the same visit three useful introductions.
Keep the exact service name and booking link beside those files. Check them now, so you can use the same accurate details as you work through the captions.
Make the three posts in one pass
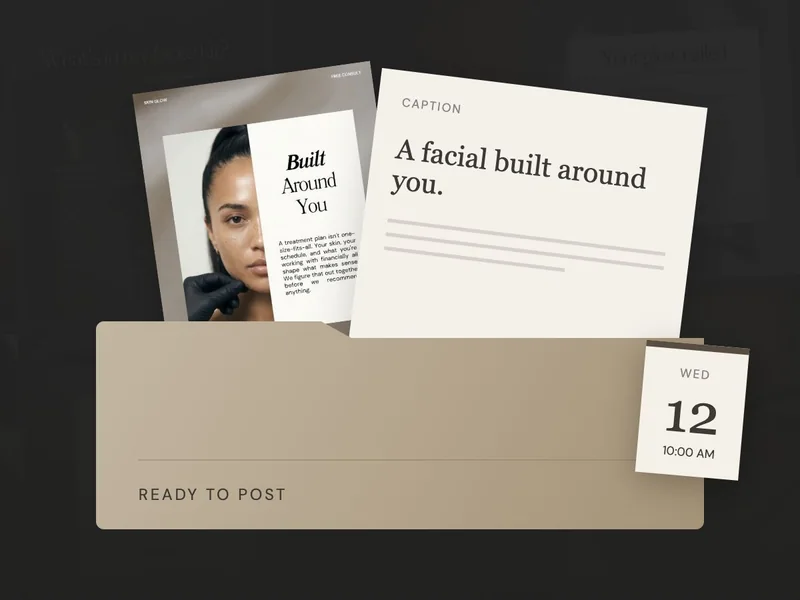
- Write all three captions. Answer the question, describe the room and write the invitation. Keep each caption about one thing.
- Edit your chosen template. Add your business details and replace any wording that does not match your service.
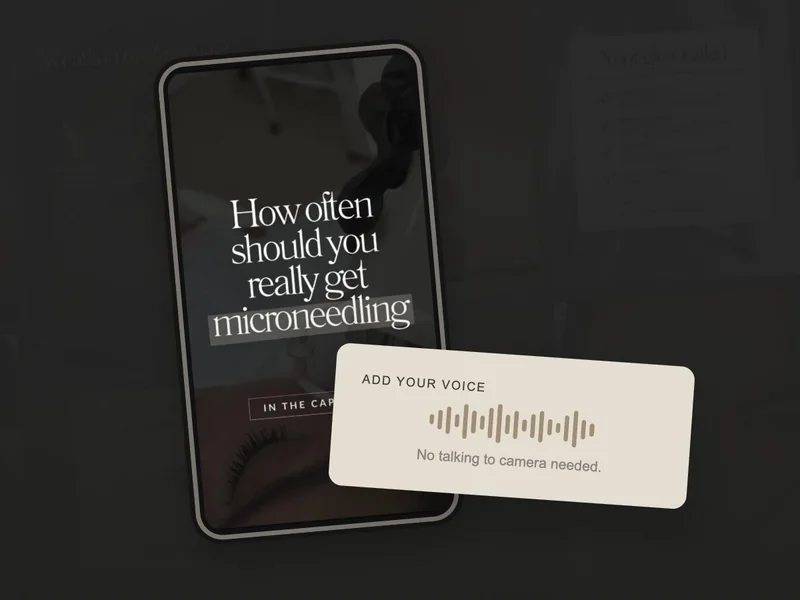
- Trim your room clips. Show the doorway, the prepared bed and one detail. Add a line explaining what a first visit feels like.
- Make the invitation. Use your own room photo with a clear booking instruction. Only advertise appointment times you actually have.
Post 1 · Answer
“Not sure which facial to book? Start with our first-visit consultation. We’ll discuss your goals before choosing the next step.”
Post 2 · Show
“Here’s where your first visit begins. There’s time to ask questions before we start.”
Post 3 · Invite
“Ready to visit? Choose First Visit on our booking page through the link in our bio.”
Use those lines as starting points, changing the process and service name to match your studio. Read the three together: do they give someone a consistent picture of the visit?
Check the batch, then put it in your calendar
Before putting the batch away, open each post on your phone. Check spelling, image quality, service names and booking routes. Listen to the Reel, then watch it without sound to see whether the on-screen words have enough time to be read.
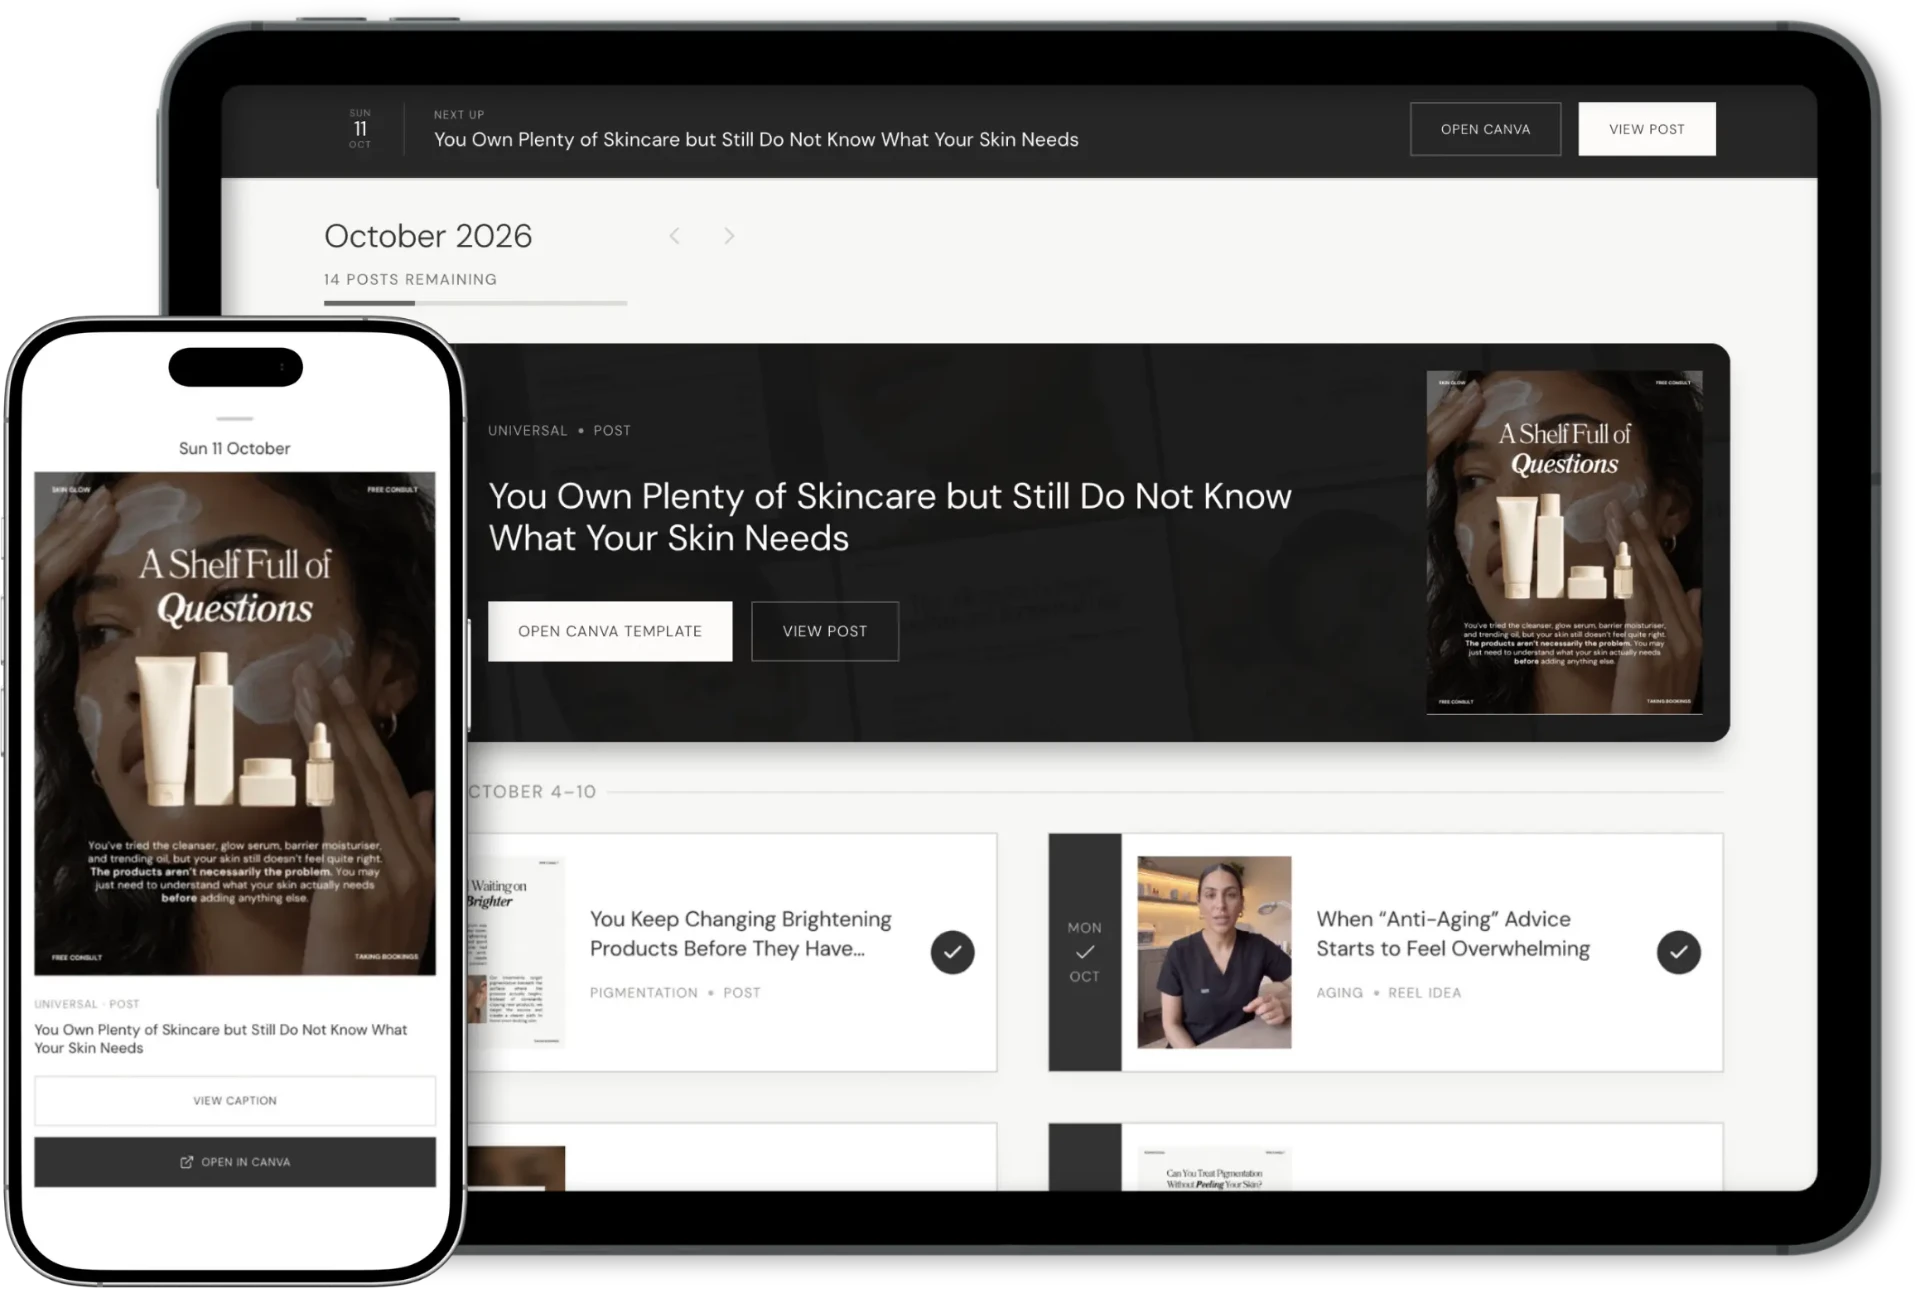
Give the finished posts a place in your content calendar or scheduling tool. The calendar helps you see what you’ll share, while a scheduler publishes the finished files you add to it.
Save any unused clips for another relevant post. They don’t all have to go out this week. Next time, you can start with a question you haven’t answered and see which material you already have.
When you reach the end of the session, look at what’s ready to use. A small finished batch gives you something to rely on during a busy week, and a process you can repeat when you have time again.