01 / START WITH YOUR CLIENTS
What should an esthetician post for a whole month?
Planning a whole month of social posts can sound like a lot when you’re still deciding what to share today. You might have treatment photos saved on your phone and plenty of things you could explain, but turning them into a plan is another task.
Let’s give those ideas a place to go. We’ll build a sample month around questions your clients ask, mixing helpful templates with your own photos, treatment clips and introductions. You can adapt it to the services you offer and the time you have.
Start with the questions that come up around that treatment: “Is it right for me?”, “What happens during it?” and “How do I book?” You already talk about these things at work. Here, we’re finding a way to share those answers before someone visits.
Then choose a pace that feels realistic alongside your appointments. Three posts a week gives you 12 posts over four weeks, which is the example we’ll use. If that’s too much right now, choose fewer and give yourself time to get them ready.
02 / FOUR TYPES OF SKINCARE CONTENT
Four types of skincare posts to include in your calendar.
To make choosing easier, we give posts four jobs in SCC’s calendar: Recognise, Guide, Reassure and Invite. Here are four real examples from our November library, with a short excerpt from each caption. As you read, think about which questions you hear in your own studio.
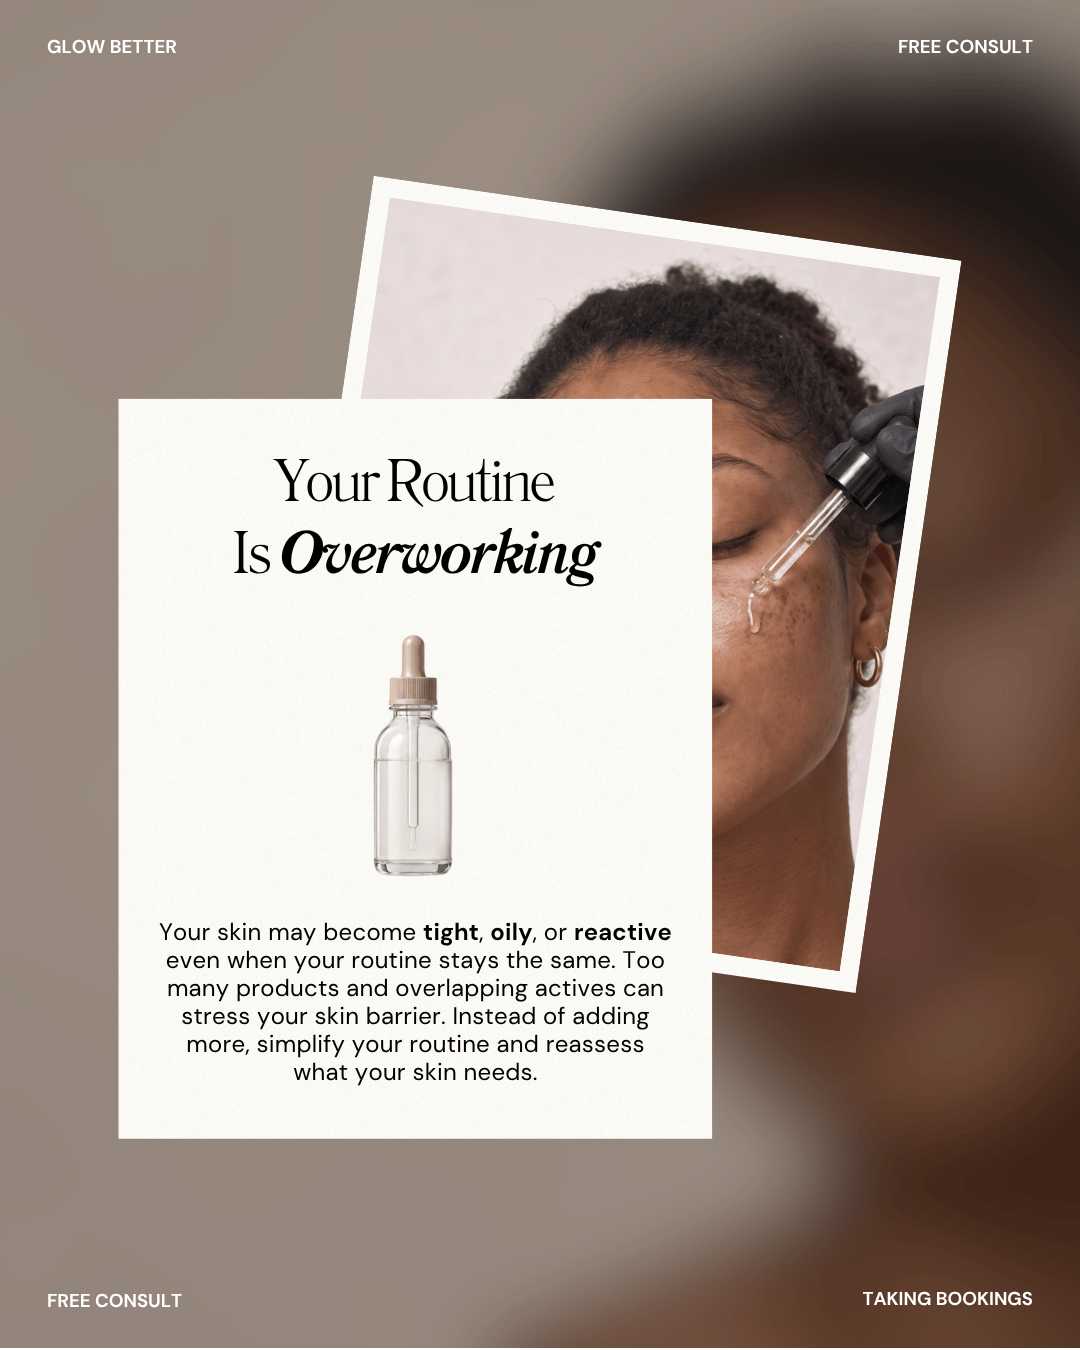
Help someone think, “That sounds like me.”
“More skincare steps do not always mean a more helpful routine.”
What it does: names a familiar problem before talking about an appointment.
Try this: think of a sentence you hear from clients, such as “I have lots of products but don’t know what to use.” That gives you a familiar place to begin.
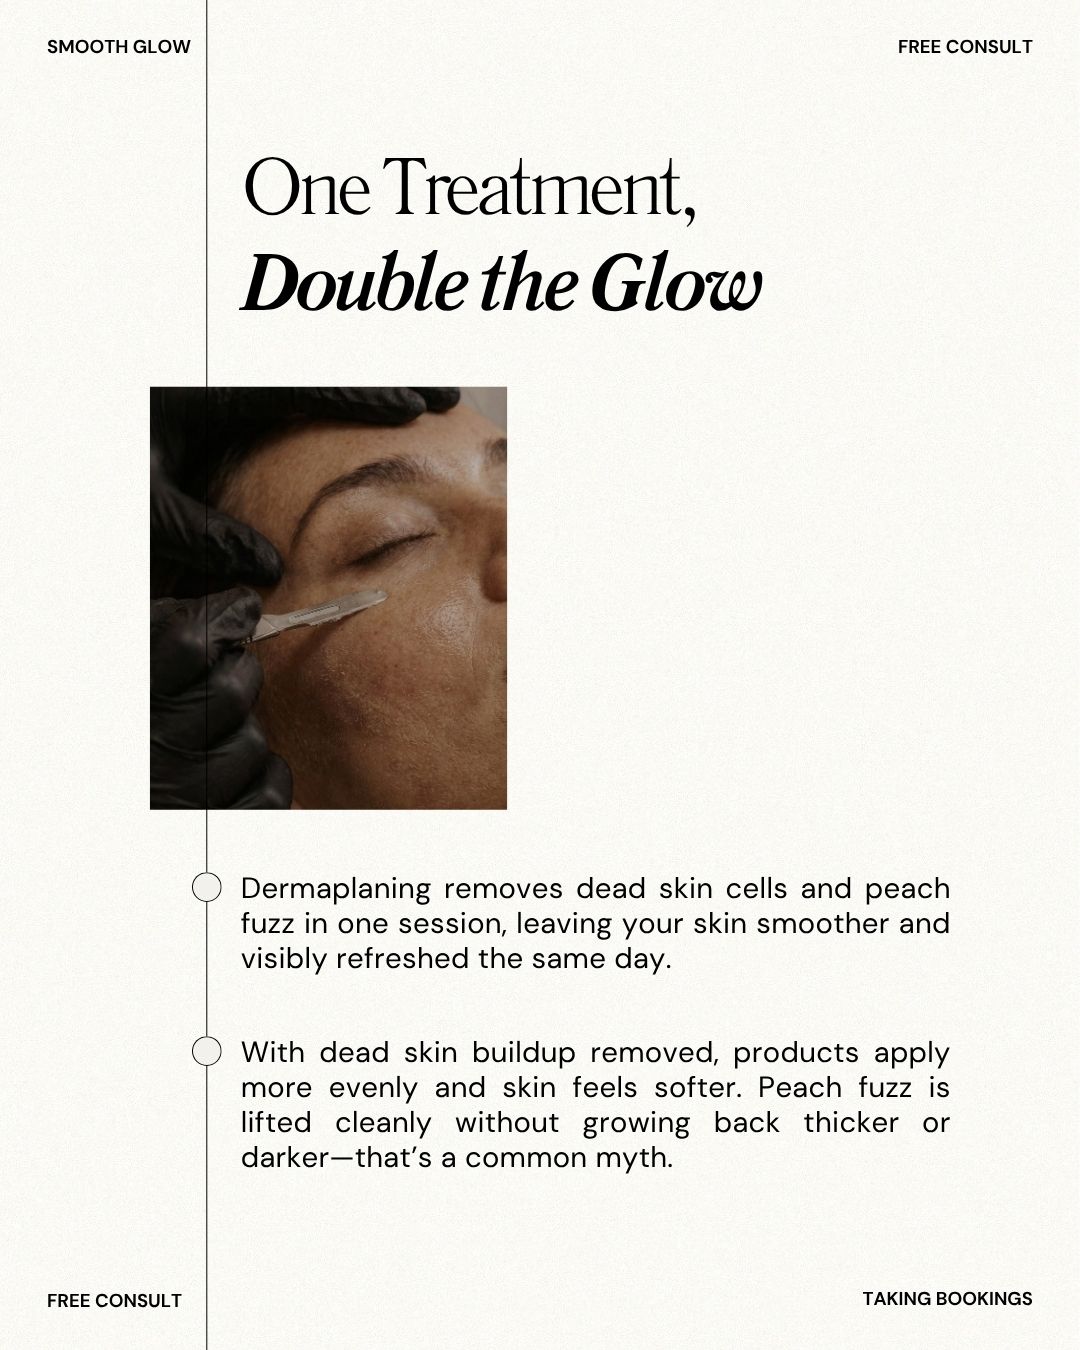
Explain one thing about a treatment.
“Dermaplaning removes fine facial hair and surface buildup in one appointment.”
What it does: explains the service in words a new client can understand.
Try this: pick one treatment you’re comfortable explaining. Tell a new client what happens and why they might ask about it, using details that match your service.

Answer a worry before someone books.
“Booked a facial and now wondering whether you chose the right one? You can ask before the treatment starts.”
What it does: gives an unsure client a simple way to ask for help.
Try this: walk someone through how you help them choose. In this template, you’d add your own consultation process so they know what to expect from you.
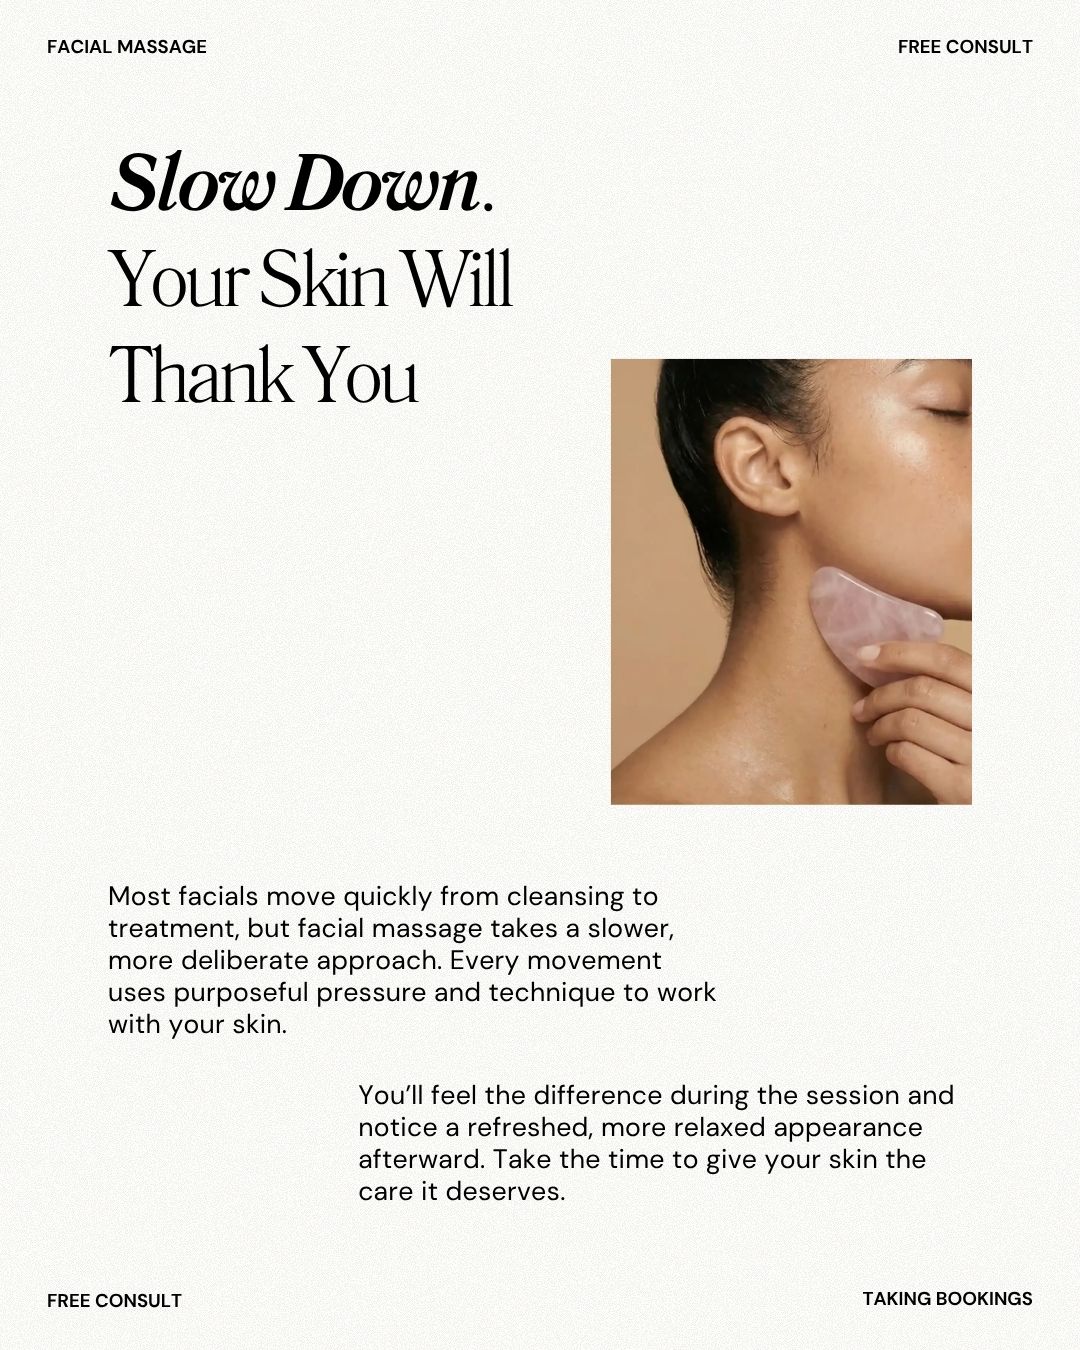
Tell people what to do next.
“If a slower facial sounds like what you need, get in touch and ask about a facial massage appointment.”
What it does: names the appointment and gives the reader a next step.
Try this: imagine the reader is ready to book. Tell them the service name and where to find it. “Book a facial through the link in our bio” gives them more help than “Treat yourself.”
You may notice that none of these jobs requires a particular format. A post’s job and its format are different. You can explain a service with a photo, carousel or Reel. Use whichever makes your idea easiest to follow.
03 / SHOW YOUR WORK AND THE PERSON BEHIND IT
What should I photograph or film for my skincare business?
You also have room for the work you’re already doing. A result photo can help explain a client’s treatment journey, a short clip can show part of an appointment, and an introduction lets someone meet you before they arrive.
Share a before-and-after—and explain the journey.
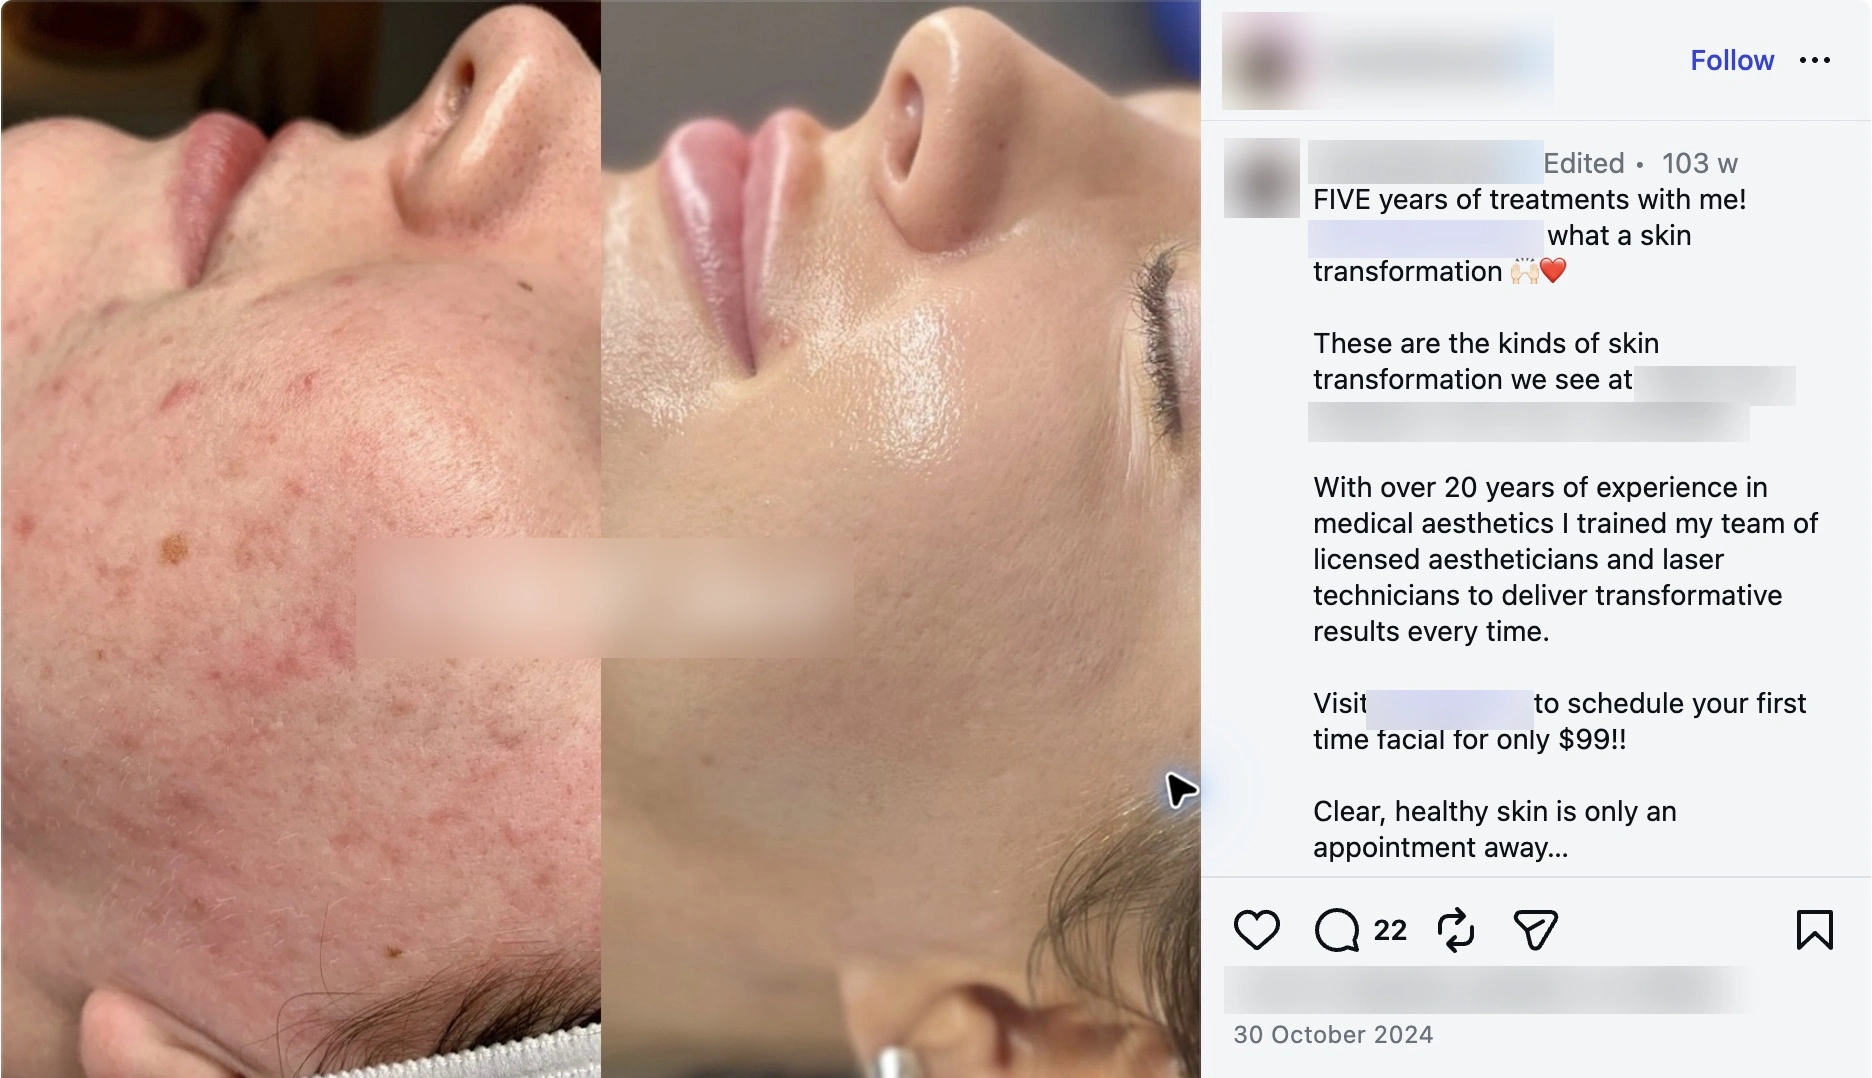
The photos show a comparison, and the caption gives a timeframe. It doesn’t leave readers thinking this happened after one facial.
Give your reader the details they can’t see in the photos: the treatments, number of visits and relevant home care. Keep the explanation specific to this client, so it doesn’t sound like a promise of the same result for everyone.
What the client wanted help with → what you did → how long it took → what changed → how to book a consultation.
Before using a client’s photos, make sure you have permission to share them. Use comparable lighting and angles, and leave skin texture and colour unedited. If you need somewhere to put the images and explanation, SCC’s before-and-after templates provide a layout for your own client photos.
Film a few moments from a treatment.
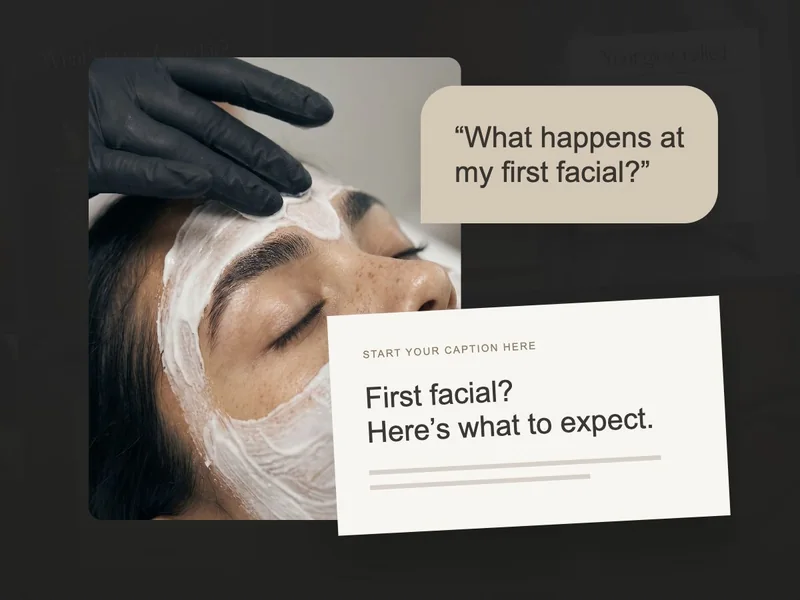
Try recording three short clips: your room ready for a client, one treatment step, and the finishing touches. Keep your phone upright and steady. If a client is involved, get their permission to film and share before you begin.
Once you have the clips, give them a simple introduction, such as “What happens at your first facial?” Your caption can talk the viewer through the answer.
If talking to camera feels like a step too far, you can record your voice over the clips later. You might say: “Before we start, we’ll talk about your skin and what you use at home. Then I’ll explain the treatment.” Change that to reflect what actually happens at your appointments.
See our treatment Reel ideas, hooks and scripts →Let potential clients meet you.
An introduction can be as simple as a photo of you in your treatment room. Tell the reader your name, what you help with and what a first visit is like. You can make a short video if you prefer, but a photo gives you somewhere to start.
“Hi, I’m [name], the esthetician at [business]. If you’re unsure which facial to choose, we can talk it through before you book. Send me your question.”
Sprout Social reports that 40% of consumers rated employee-made content as more authentic than posts from a brand’s main account. Make room in your plan for an introduction or a behind-the-scenes clip, so potential clients can get to know the person they’ll be visiting. Read the findings.
04 / BUILD YOUR MONTHLY CONTENT CALENDAR
How do I turn skincare post ideas into a monthly plan?
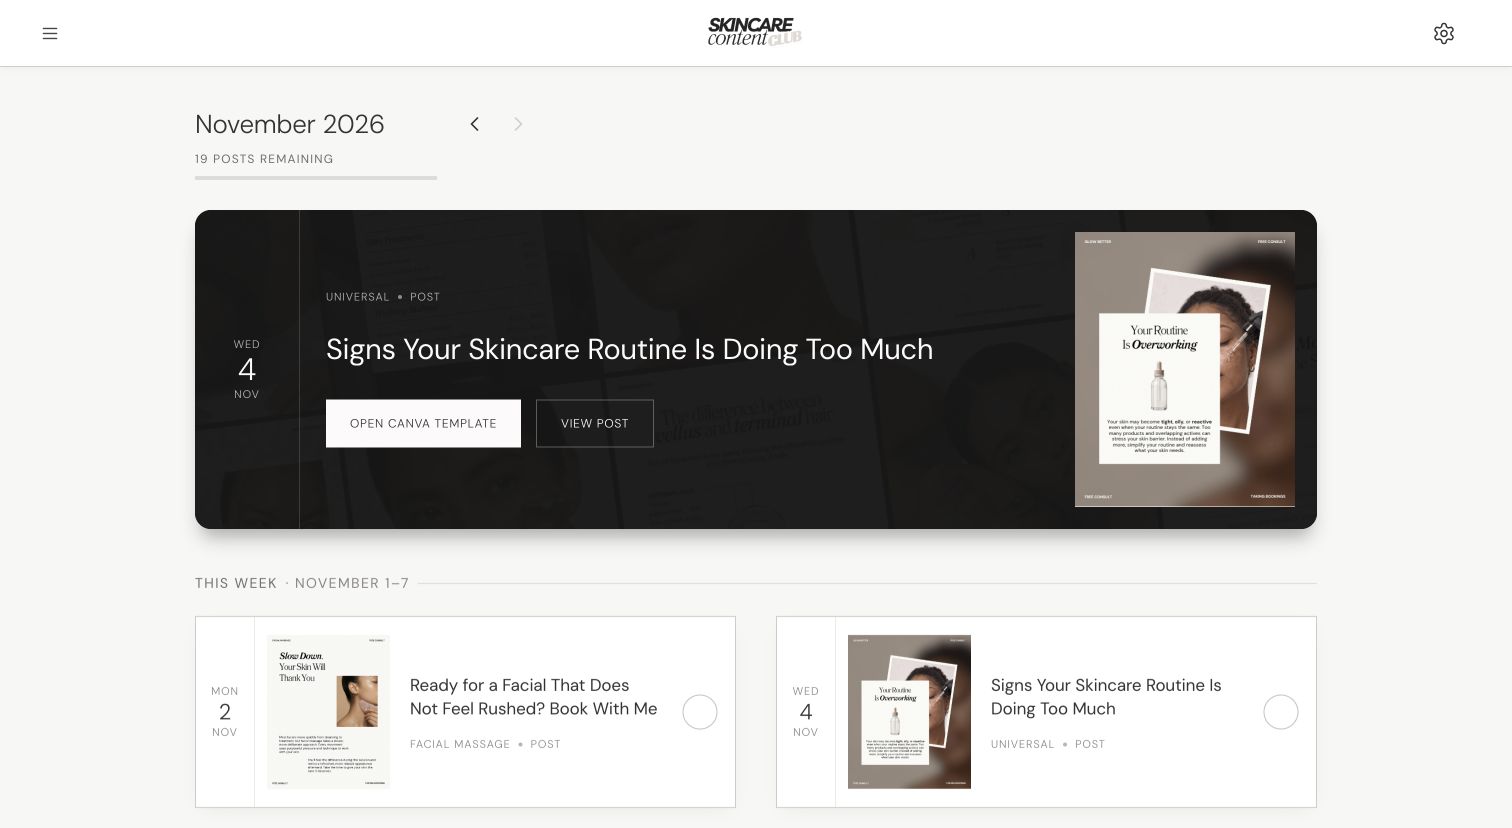
Now let’s put those ideas beside dates. The sample below gives you a 12-post month, mixing SCC library ideas with your own photos, results and videos. Each label tells you what you’ll need to prepare, so you can see where a little filming or writing will fit into your week.
Week 1
- MONRecogniseIs your skincare routine doing too much?SCC template
- WEDReassureMeet me and see the treatment roomYour photo or video
- FRIInviteA facial that doesn’t feel rushedSCC template
Week 2
- MONGuideWhat dermaplaning removesSCC template
- WEDGuideWhat happens at your first facial?Your treatment clips + voiceover
- FRIReassureOne client’s progress and the story behind itYour before-and-after photos
Week 3
- MONRecogniseWhy your products may not work well togetherSCC carousel
- WEDReassureHow I help you choose your facialYour introduction video
- FRIInviteThis month’s available appointmentsYour room photo + booking details
Week 4
- MONGuidePause before adding another activeSCC template
- WEDGuideA look at one step in your treatmentYour treatment Reel
- FRIInviteBook a skin consultationSCC template + your booking route
Make this month yours: swap out treatments you don’t offer and move the dates around your appointments. If you don’t have a client result ready to share, show your consultation process instead. You can follow the same plan in a notebook or spreadsheet.
05 / PREPARE A WEEK AT A TIME
How do I get my Instagram posts ready?
- Write the captions together. Answer one question per post and add one next step. Use our simple caption guide.
- Gather the images. Set aside room photos and client photos you have permission to share. Record a few treatment clips during the week. Keep each visual with its caption.
- Check before posting. Confirm service details and booking links. Get permission for client photos or reviews.
06 / SCHEDULE YOUR POSTS
How can I schedule posts on Instagram and Facebook?
Once you have a plan, you can decide how you’ll get the posts out. Your content calendar tells you what to post. A scheduling tool publishes finished posts at the time you choose. Keeping those two jobs separate makes it easier to see what’s ready and what still needs work.
- Add your finished image or video and paste its caption.
- Check the preview, date and time zone. Then schedule.
- Check it went live and reply to people. Some formats need a reminder to finish in the social app. See how that works.
If you’d rather start with a reminder on your phone and post manually, that’s fine too. Choose a method you’ll remember to use, and leave time to check the post and reply afterwards.
07 / CHOOSE HOW MUCH HELP YOU WANT
Do it yourself, use SCC or hire a team?
You may enjoy making the posts but find the planning difficult. Or you may want to hand over more of the work. It helps to look at what you’d still be doing with each option:
| Option | Help you get | Your part |
|---|---|---|
| Do it yourself | Full freedom to build your own plan in a notebook or spreadsheet. | Choose topics, write captions, create visuals and publish. Best if you have time and enjoy it. |
| SCC’s calendar | A planned mix of posts and captions, plus before-and-after templates and optional Reel ideas. | Add your own client photos and footage, personalise the content, then publish or schedule it. |
| A social media team | Planning, writing, design and posting can be included. Agree the scope before hiring. | Brief the team, supply business details and approve content. Ask whether filming and replies are included. |
DIY can work with tools you already have. SCC is a membership, while a team charges for the work you agree together. Think about the part you keep getting stuck on, then compare how each option would help with that.
08 / YOUR PLAN, POSTS AND CAPTIONS TOGETHER
Want a skincare content calendar with the posts already written?
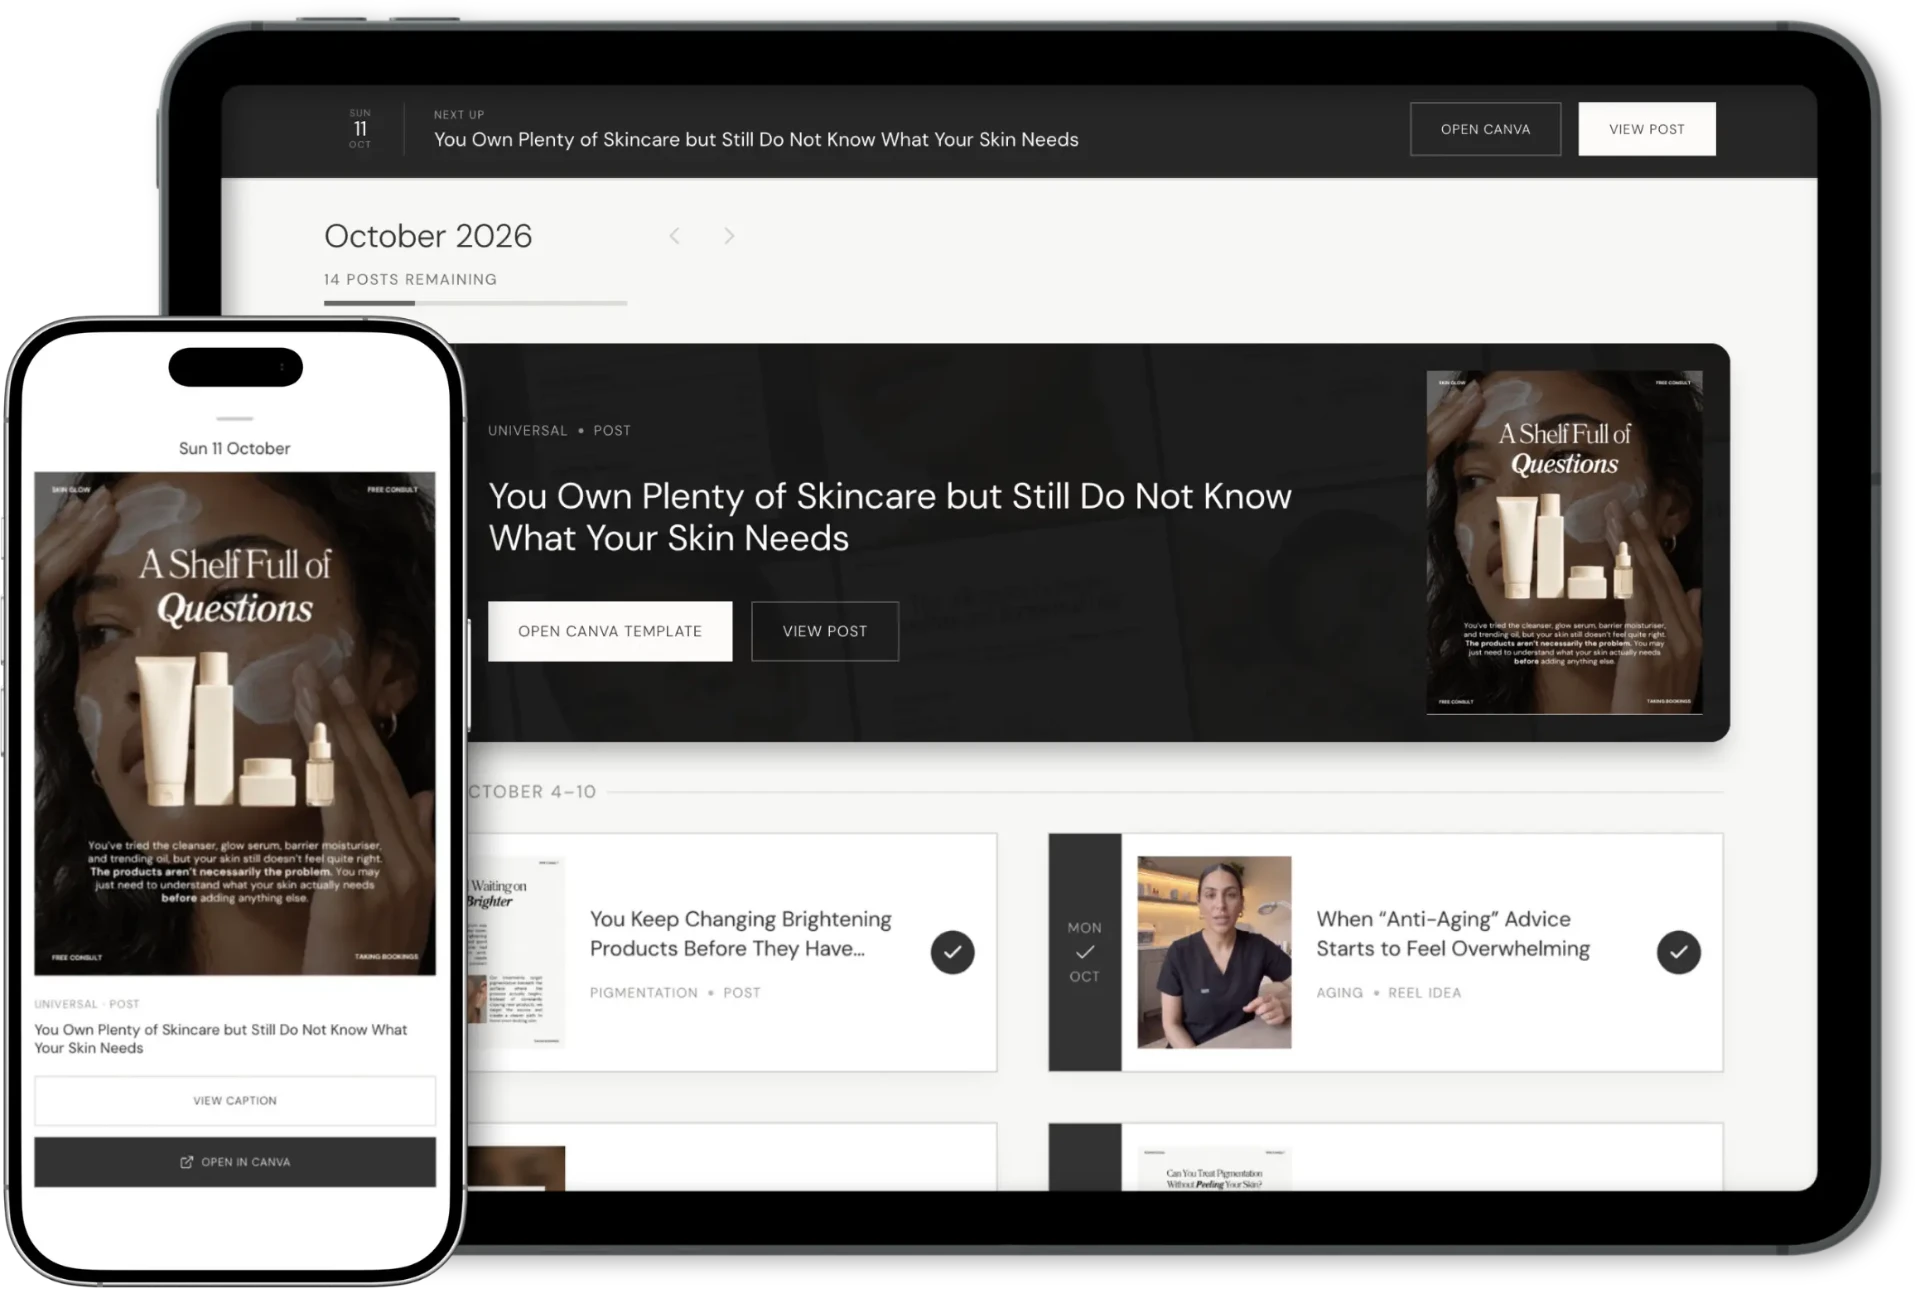
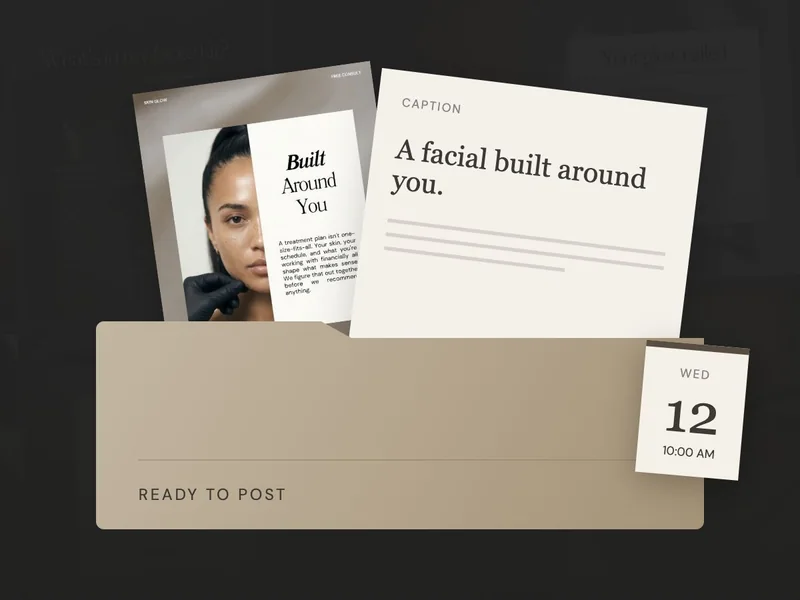
If choosing the posts is the part you’d like help with, SCC brings the plan and starting materials together. Choose your treatments, client concerns and 12, 16 or 20 posts a month. When you open a calendar post, its design and caption are there together.
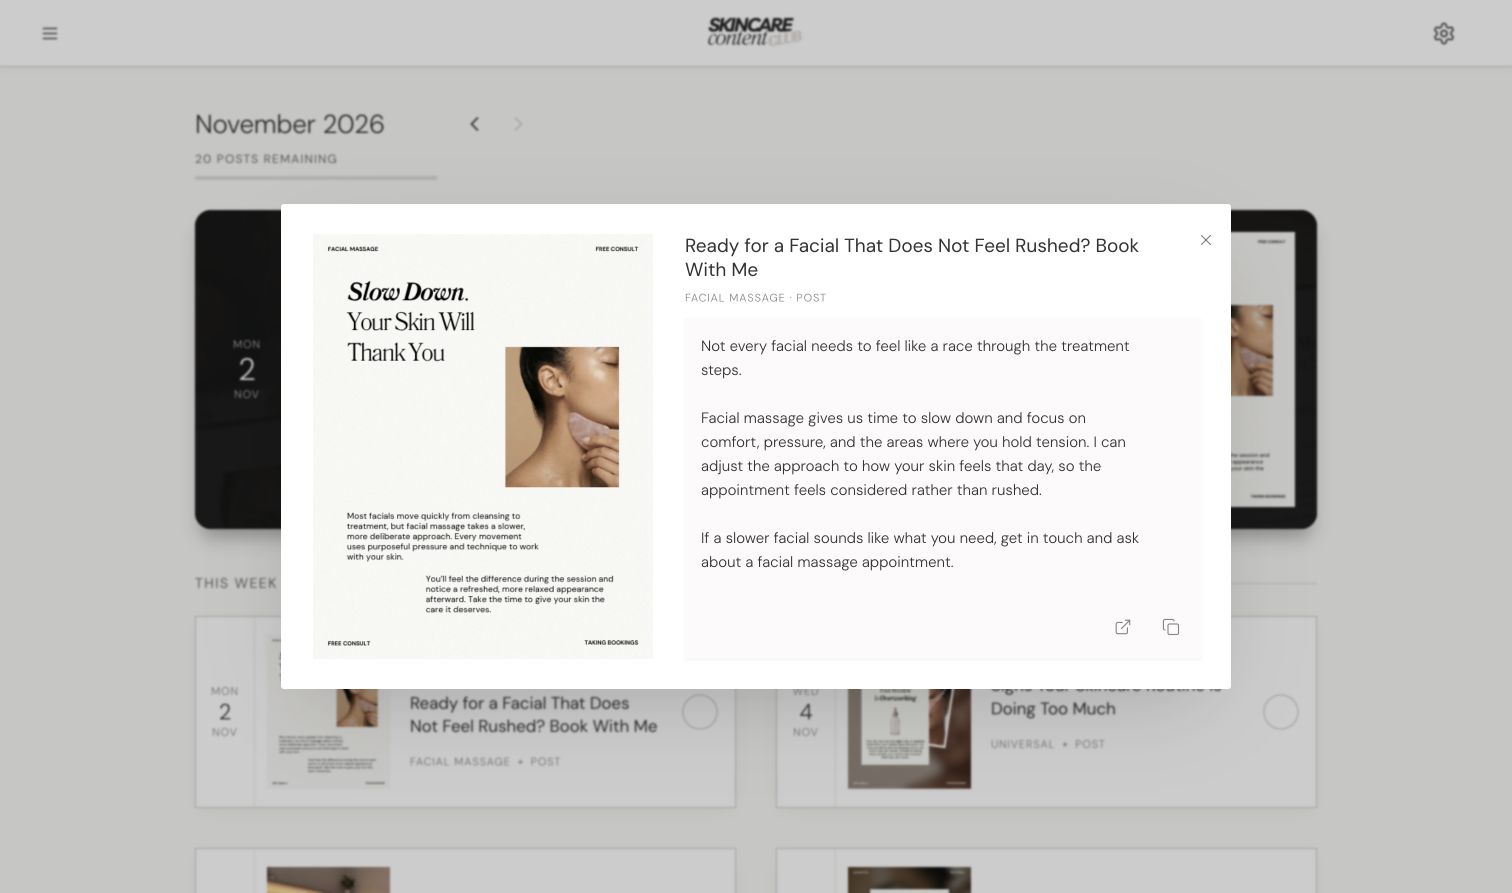
You can add your client photos to the before-and-after templates in the library. When you feel ready to include more video, switch on Reel Ideas in your calendar for hooks, talking points and recording guidance.
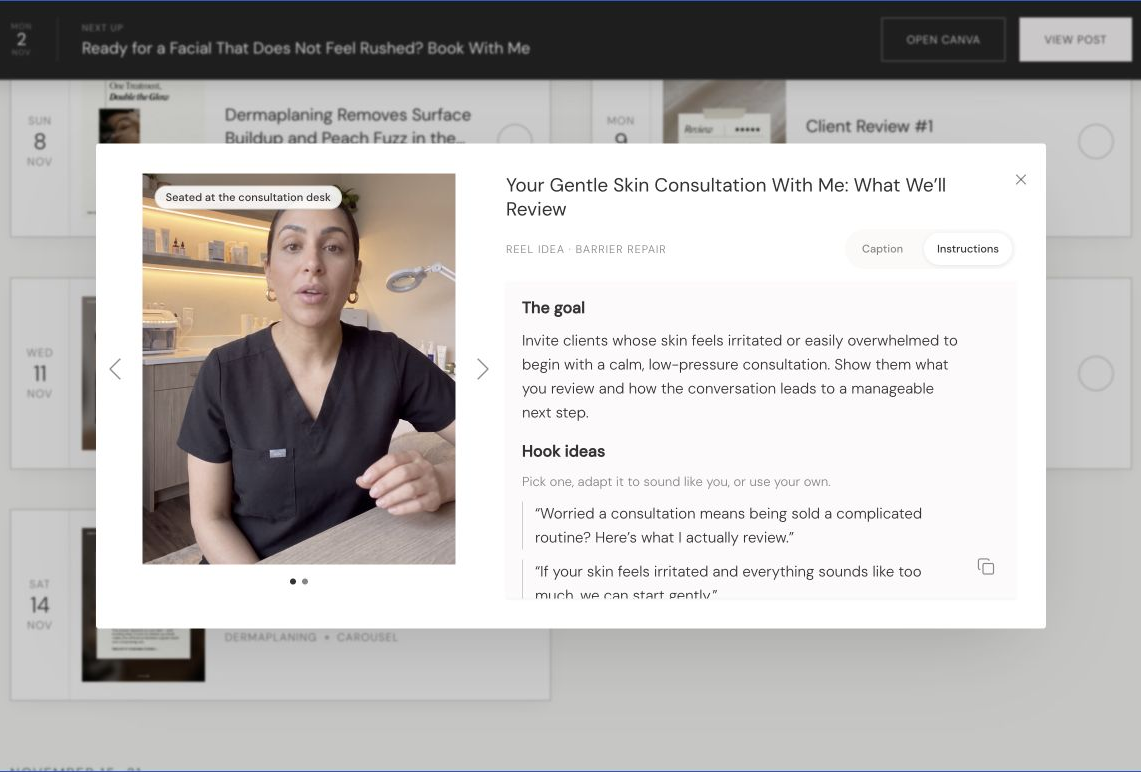
You’ll still make the content personal to your business and decide when it goes live. SCC helps with the planning and preparation; you control publishing.
For your first plan, aim for a month you can comfortably prepare. Notice which posts bring useful questions, enquiries or bookings, then carry that learning into the next month. You’ll have something to build on instead of facing an empty calendar again.