Some skincare questions need more room than a single image gives you. You start writing an explanation, the text gets smaller, and soon the post is trying to say everything at once.
A carousel lets you spread that explanation across images the reader can swipe through. We’ll take apart a six-slide skincare example, then walk through customising and downloading it in Canva so you can follow the same steps with your own post.
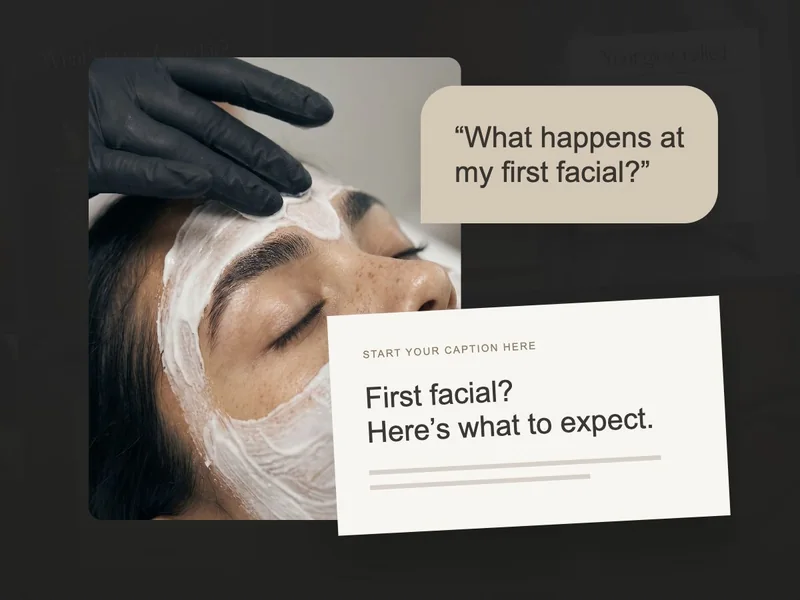
Start with one client question
Begin with something a client might ask you in the treatment room. For our example, it’s: “Why doesn’t my skin look smooth like the skin I see online?” Keeping that question in mind helps you decide what belongs on each slide.
Let’s take apart a real carousel
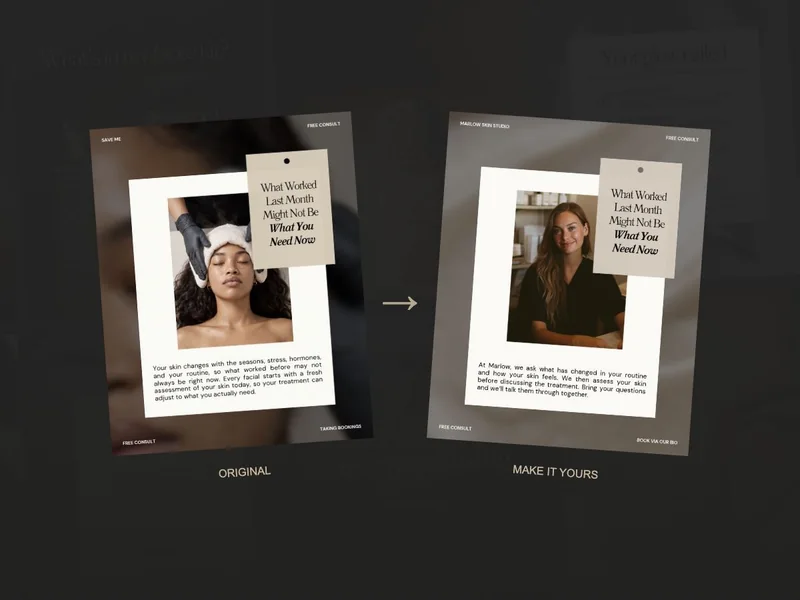
The skin-texture carousel below comes from our SCC library. We’ve adapted it for Marlow Skin Studio, our example business, by adding its name and a booking message. Let’s look at how the six slides carry the reader through the explanation.

SLIDE 1 · THE HOOK
Start with a belief your client recognises
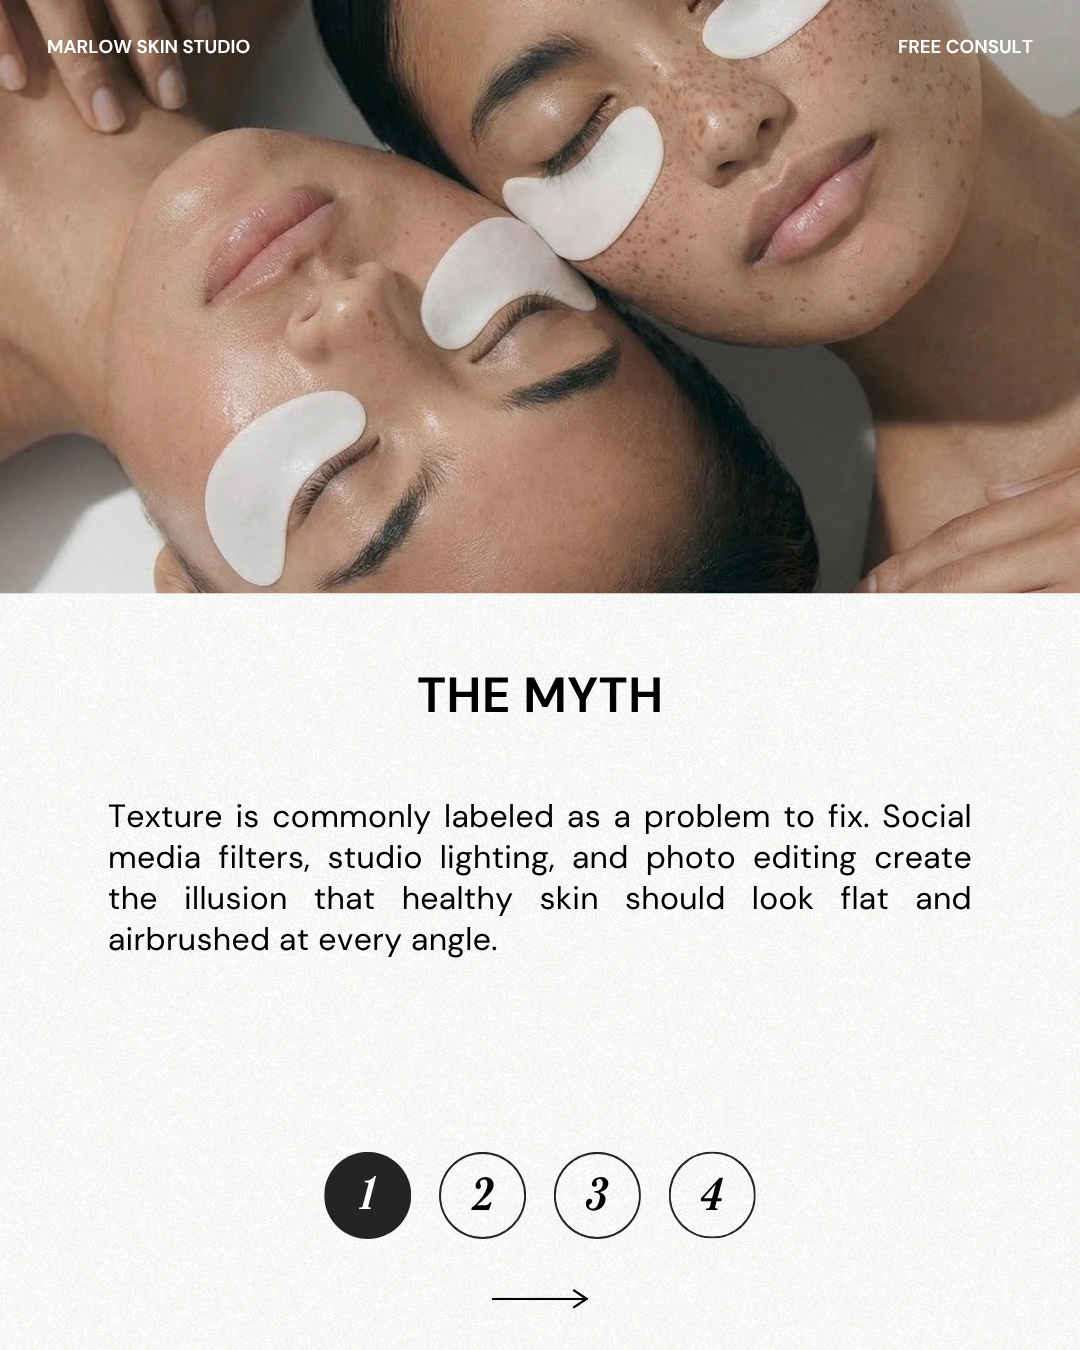
The opening repeats an idea the reader may have heard: “Perfect skin has no texture.” The smaller text immediately questions it.
Why it works as an opening: someone who has wondered about this can recognise the subject straight away. That’s the job of a hook: to give the right reader a reason to continue.
Try it in your post: start with a worry or question you hear from clients. If you use a myth as the opening, make it clear you’re about to correct it so the first slide isn’t misleading on its own.
SLIDE 2 · THE MISUNDERSTANDING
Explain where the idea comes from
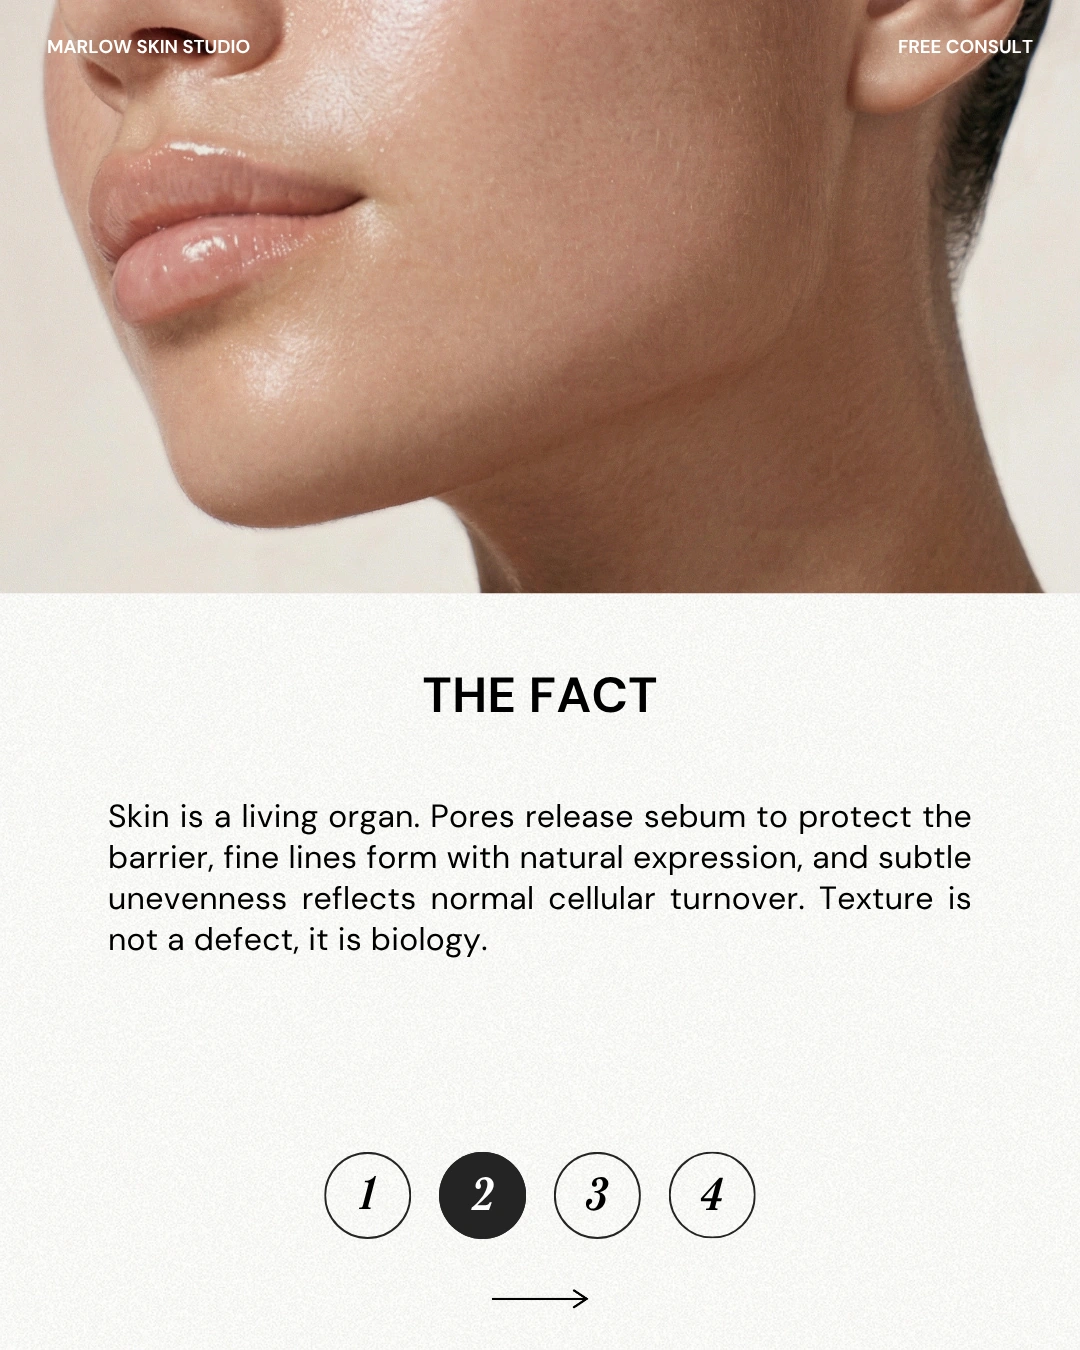
This slide points to filters, lighting and edited photos. It helps the reader understand why they might expect skin to look that way.
Try it in your post: explain why the confusion is understandable. You want the reader to feel comfortable asking the question, just as they would when talking with you.
SLIDE 3 · THE ANSWER
Give them the explanation
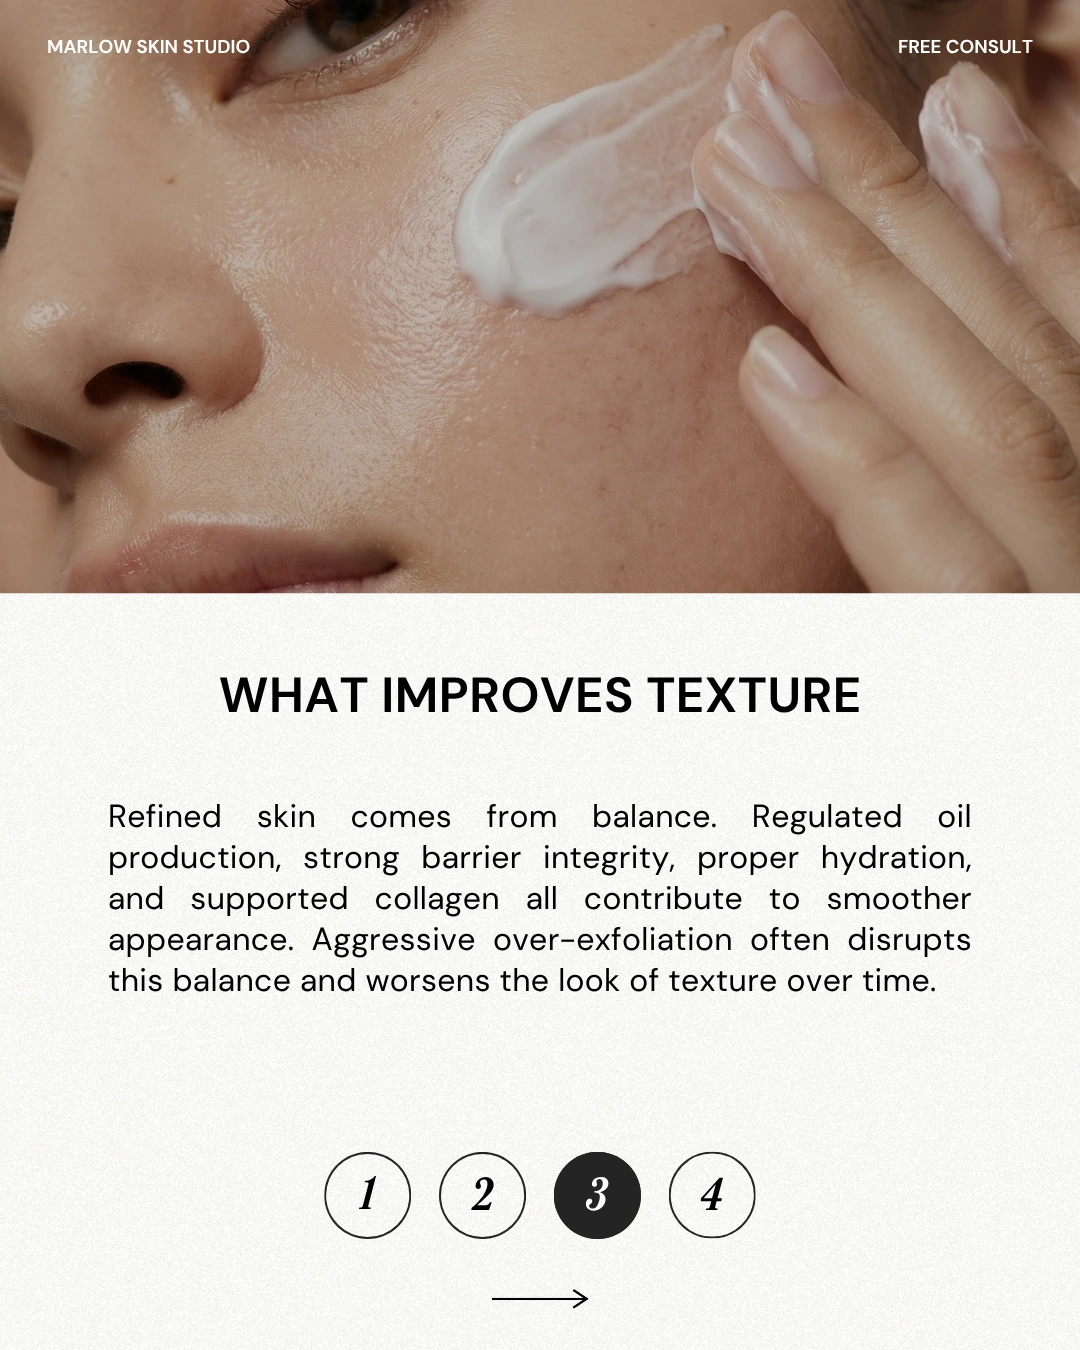
The post now answers the worry it opened with. It explains texture instead of leaving the reader with just “that’s a myth.”
Try it in your post: use the words you’d use with a client and explain any unfamiliar terms. Adding “your skin’s natural oil” after “sebum,” for example, helps someone follow the point.
SLIDE 4 · WHAT TO FOCUS ON
Move from the problem to useful guidance
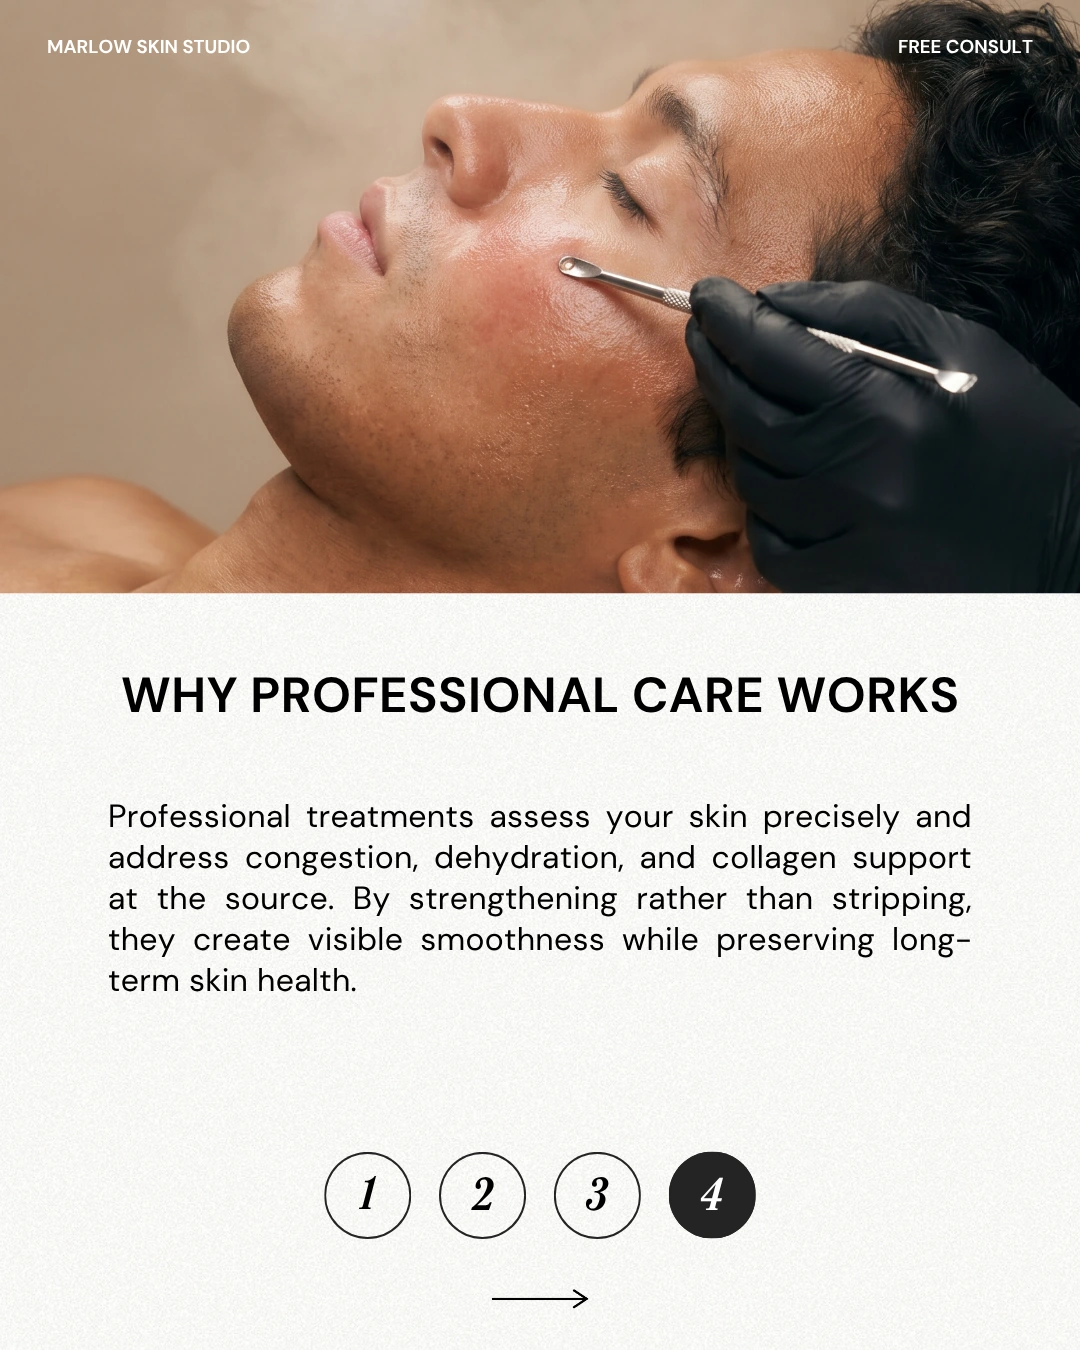
By this point, the reader has an explanation for the concern. The next slide gives them somewhere useful to go with that understanding, so the post feels like a conversation that’s moving forward.
Try it in your post: stay with the same concern as you offer guidance. If another tip comes to mind, save it for a future post so this answer stays easy to follow.
SLIDE 5 · HOW YOU CAN HELP
Connect the topic to your service
Now there’s a reason to talk about professional care. The reader can see how it connects to the question they started with.
Try it in your post: explain what you actually do at an appointment and how it relates to the question. Keep treatment claims accurate and leave room for individual needs and results.
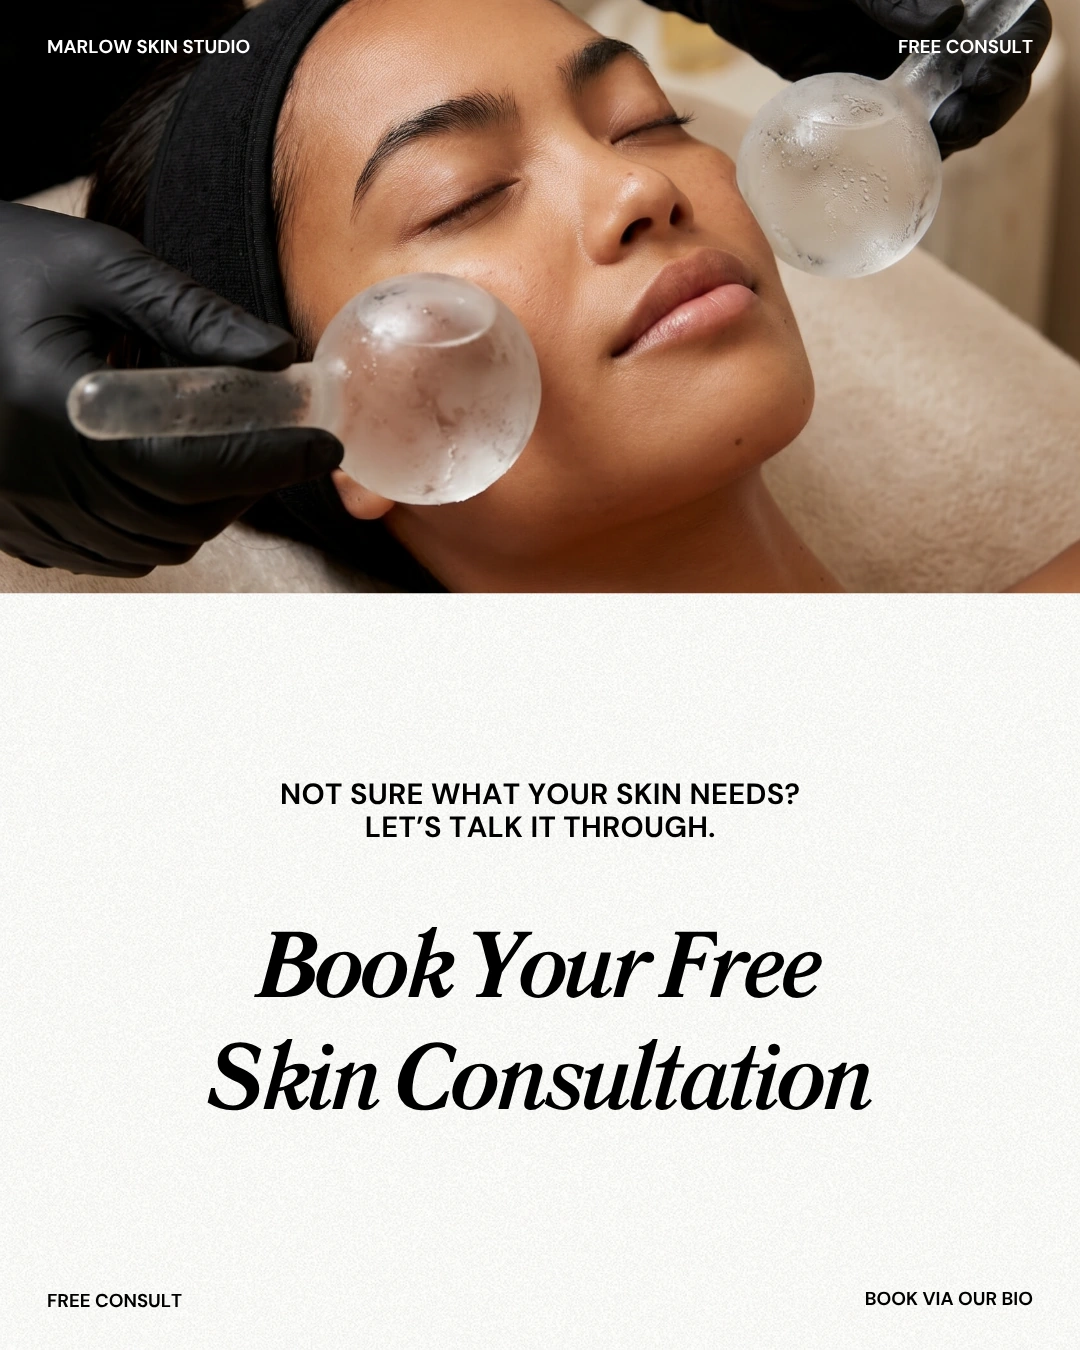
SLIDE 6 · THE CALL TO ACTION
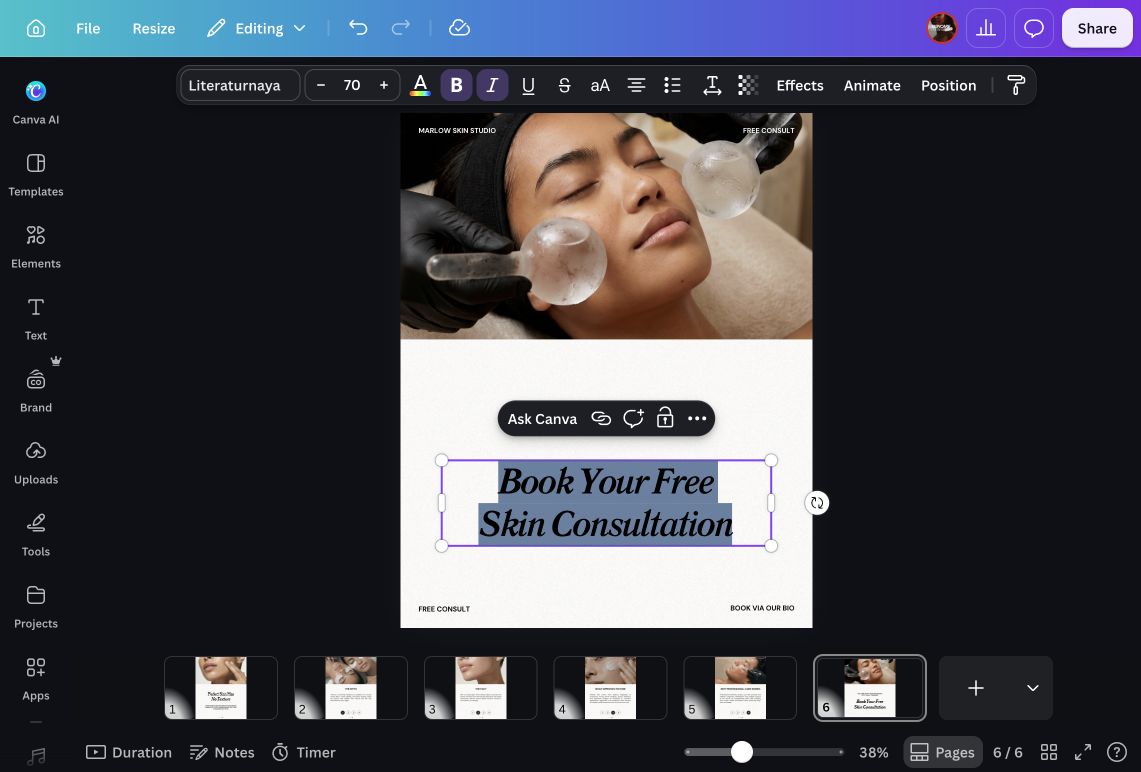
Give them one clear next step
When someone reaches the final slide, help them decide what to do next. That’s your call to action, or CTA. Our example names an appointment and gives the reader a route to book it.
Swap those details for a service you offer and a booking route that works for your clients. A reader should be able to find the same service name when they follow the link.
Now make the carousel your own in Canva
Now you’ve seen how the example fits together, open a carousel template you’d like to use. You can keep the parts that support your message and work through the changes one page at a time.
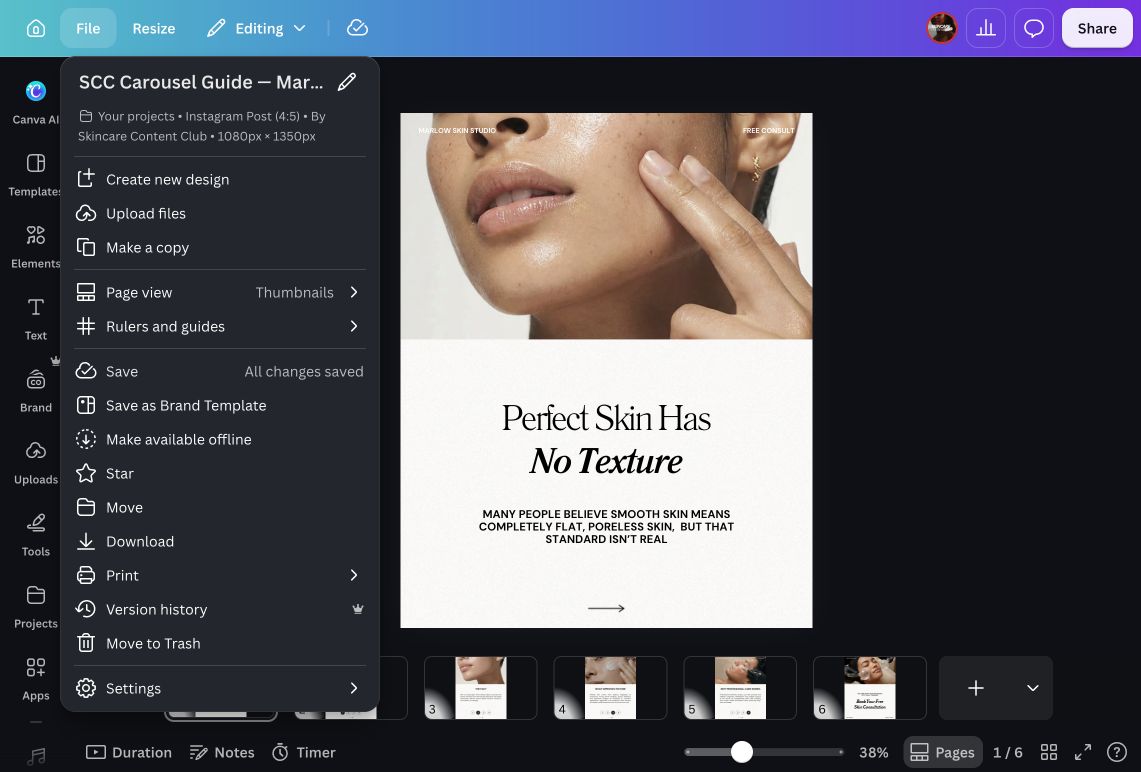
1Make a copy first
Open the template and choose File → Make a copy. Give your copy a name you’ll recognise. You can then try changes freely while keeping the original available to refer back to.
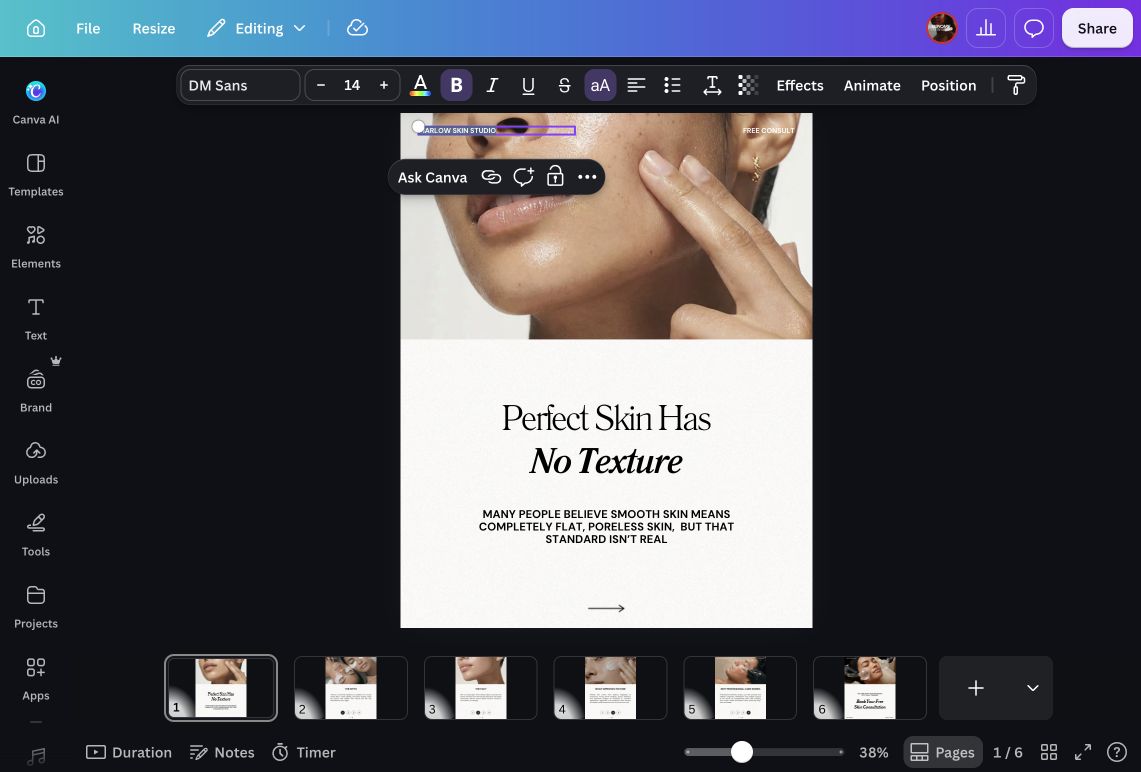
2Add your business name
Double-click the business name and type your own. In our example, that’s Marlow Skin Studio. Take a moment to check every slide, including smaller labels such as “Free consult,” so nothing gets left behind.
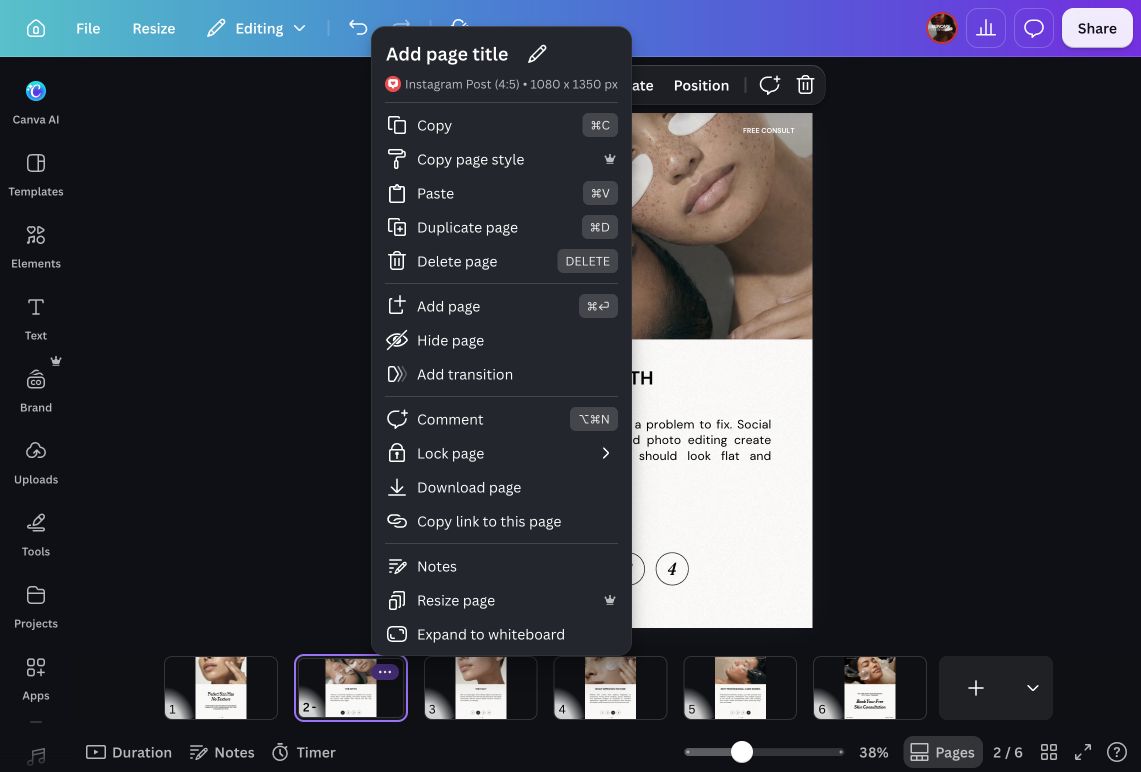
3Build the explanation one page at a time
Read the slides in order as though you’re seeing the post for the first time. Aim for one main point on each page. If an explanation needs more room, open the three dots on a page thumbnail → Duplicate page, then replace the words on the new copy.
If you’re struggling to fit a sentence, try shortening it before reducing the font size. You want the post to be comfortable to read on a phone, even when someone is only giving it a quick look.
4Finish with an invitation
On the last page, add the next step that makes sense after your explanation. Then say where to take it, as we’ve done with “Book via our bio.” Follow your own profile link to check that it takes someone to the right place.
Download the slides in order
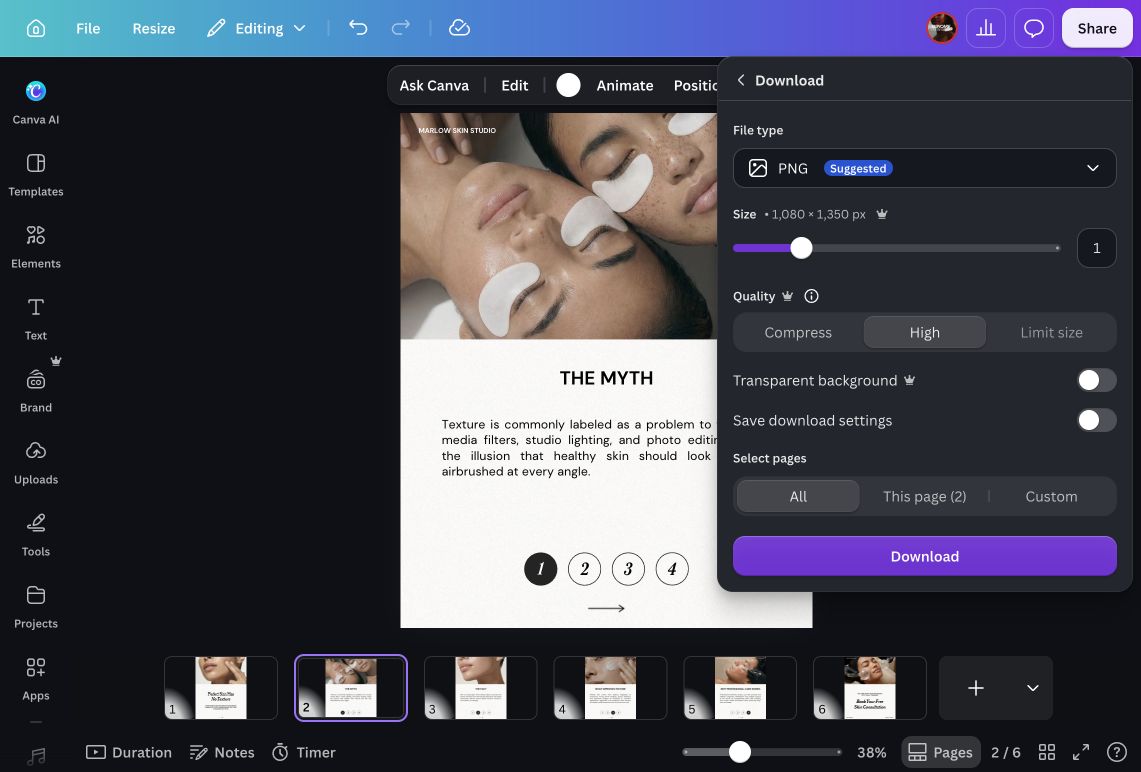
Choose Share → Download → PNG. Under Select pages, choose All, then download. Our slides are 1080 × 1350 pixels, so they all have the same shape.
When you create the Instagram post, select the images from first to last. Add a caption that introduces the question and supports the final invitation. If you’re unsure what to write, our skincare caption guide works through that part with examples.
Before you post
- The first slide makes the topic clear.
- Each new slide adds something useful.
- Your name, service and booking details are correct.
- You can read every slide on your phone.
- The final slide says what to do and where to go.
You now have one question explained across a complete post. Keep the Canva file so you can refer back to its structure next time, and let the next client question give you a new subject to work with.