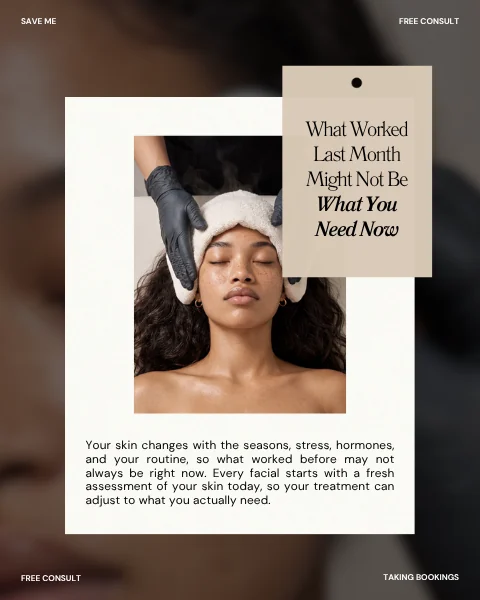
Between appointments, answering client messages and keeping up with the bookkeeping, making content for your skincare business can feel like another job. Starting with a Canva template gives you something to work with, but you still want the finished post to look and sound like you.
We’ll work through one facial post together, showing you what to change, what you can keep and how to get it ready to share. You’ll have a clear example to follow the next time you sit down to make a post.
Match your existing style
Before you start editing, pull up two or three posts you’re happy with. They’ll give you a handy reference when you’re deciding what fits your business:
- Colours & fonts
- Use the colours and fonts you’d like to carry through from your other posts. If the template already fits, it’s fine to keep those choices.
- Photos
- You might have a photo of your treatment room or your work that would suit the post. If you don’t, you can keep the template’s image when it fits the message.
- Wording
- Think about how you’d explain this treatment to a client. Use that same clear, familiar language, and add the details that matter for your services.
Example: customising a pre-made template
Let’s look at what that means in practice. We’ve adapted an SCC facial template for Marlow Skin Studio, the example business we’re using for this walkthrough. The layout and headline stay the same, while a new portrait and a few changes to the wording make it specific to the studio.
Here are the two versions side by side. Below them, we’ve picked out the details you can change in your own post.
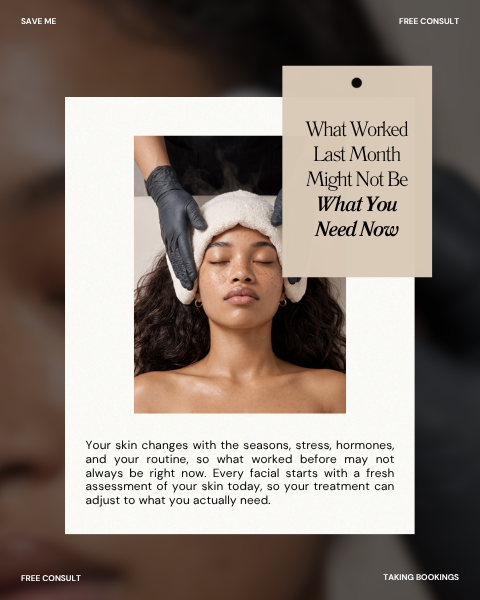 Original template
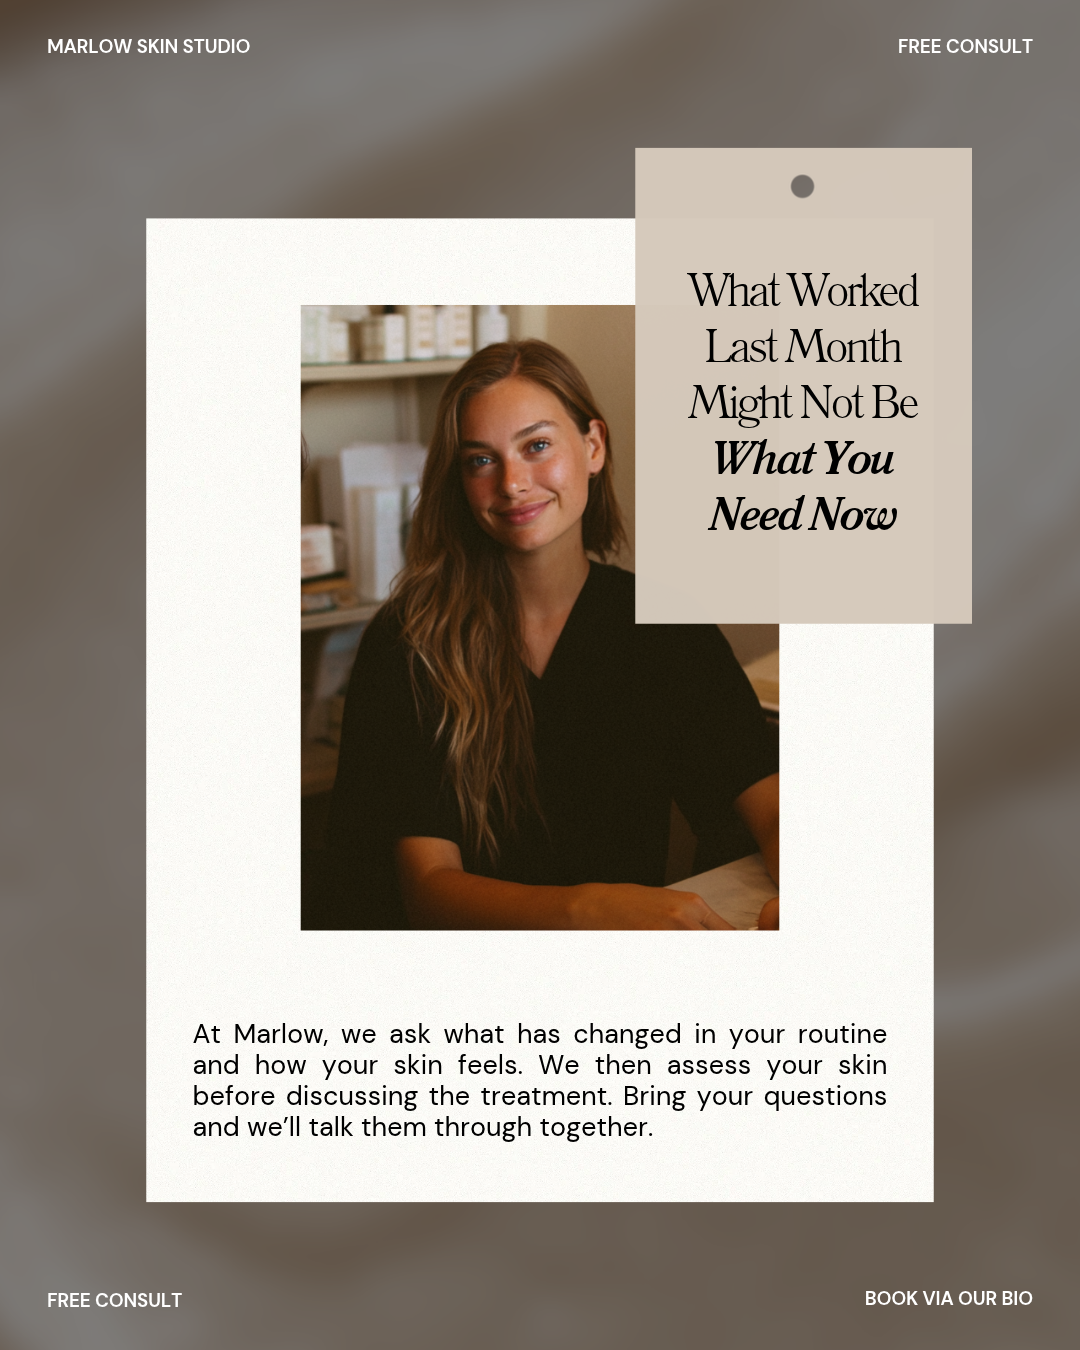 Our example
Business name
We’ve added “Marlow Skin Studio” so it’s clear who the post is from. This is where you’d put your own business name.
Service details
“We ask what has changed in your routine” gives clients a little insight into the appointment. Think about how you begin a visit, and use this space to explain that in your own words.
Booking prompt
Our example finishes with “Book via our bio.” Your invitation should match how you take bookings, so a client who’s interested knows what to do next.
Edit your template in Canva
Now you’ve seen what we’re aiming for, you can follow the same steps with your own template. We’ll start by keeping a copy of the original, so you have something to return to if you change your mind.
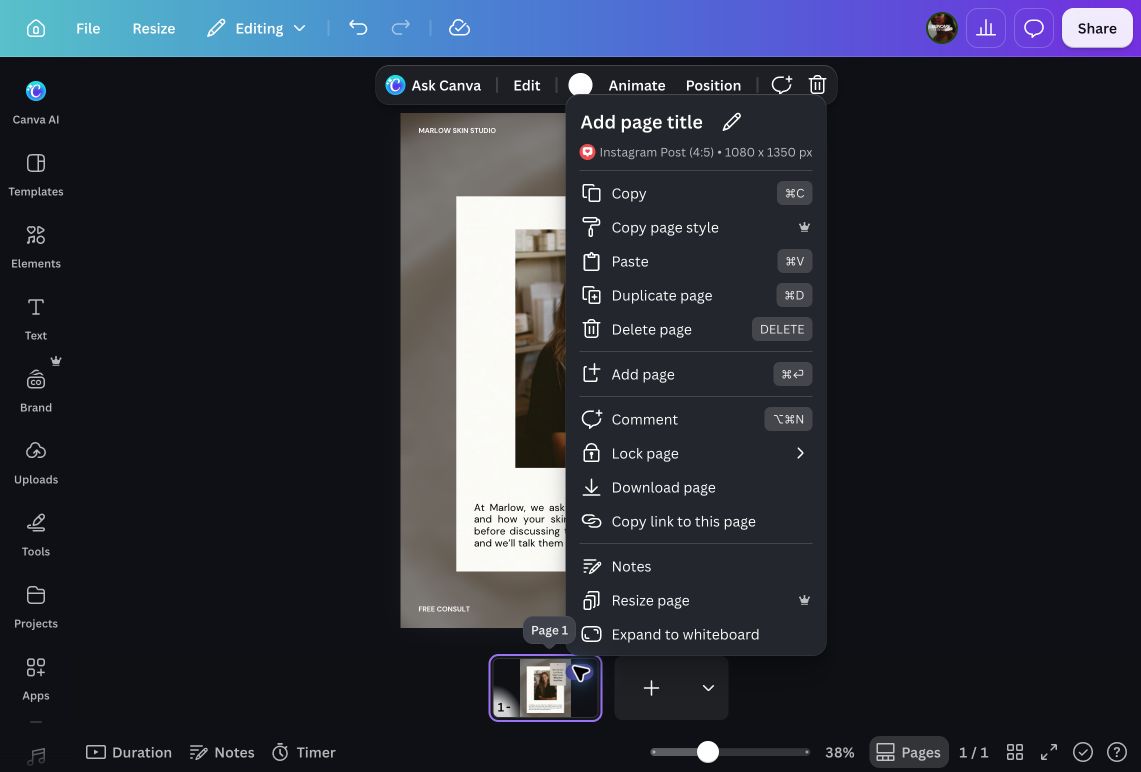
1 Duplicate the page
Open your template in Canva and choose Duplicate page from the page’s three-dot menu, shown below. Make your edits on the new copy. That gives you room to try things out while keeping the original design handy.
2 Edit the text and styling
Start with your business name, then work through the service details and booking prompt. Double-click a text box to change the wording.
Try reading your version aloud, as though you’re explaining the treatment to a client. If a phrase feels awkward to say, use the words that come more naturally to you.
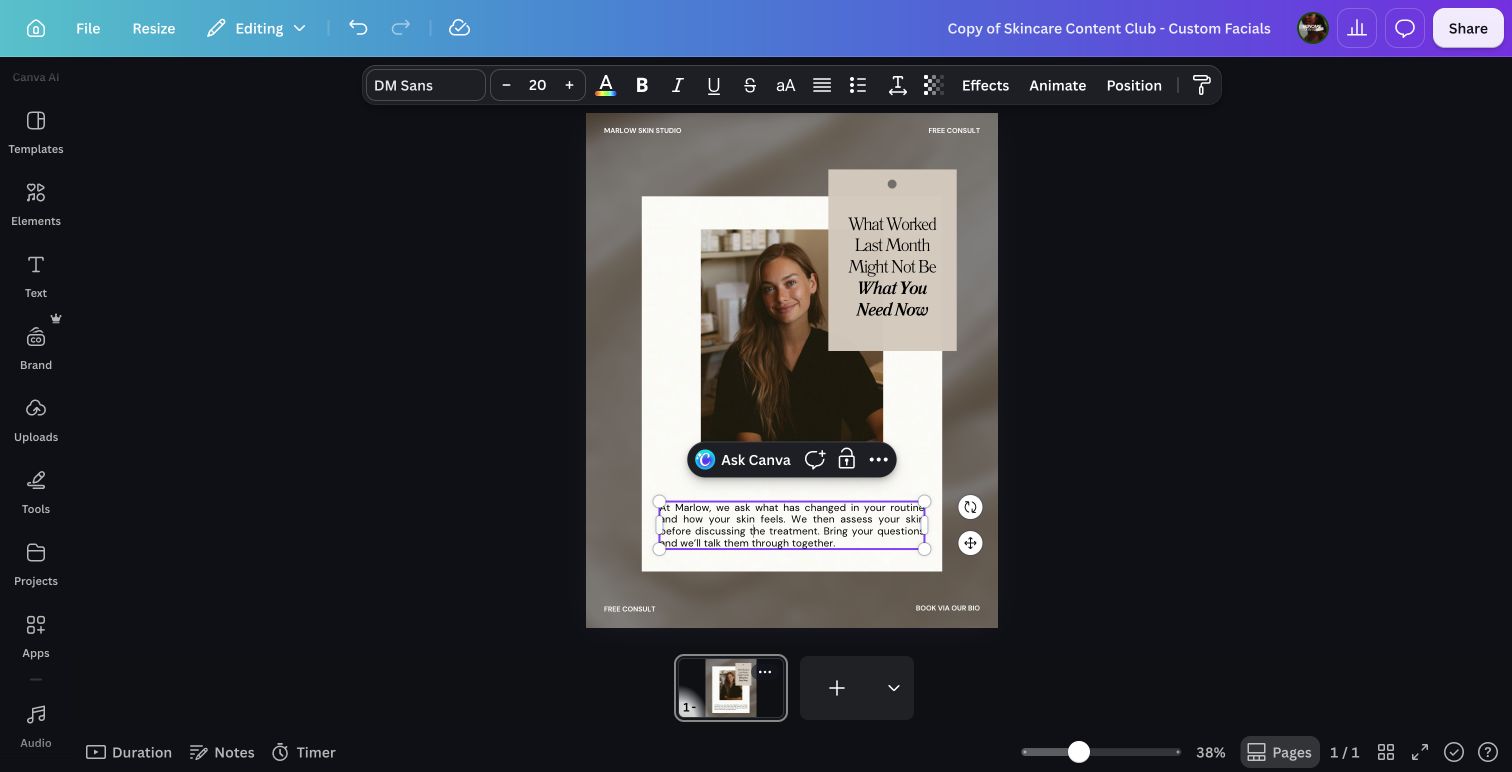
If your words don’t fit the text box, try shortening the sentence first. For example, “We ask about your routine” gets the point across more simply than “We will ask you a series of questions about your current skincare routine.” This can also save you from making the text too small to read.
Once the wording feels right, you can adjust the fonts and colours to match the posts you picked out earlier. Select the text and use Canva’s toolbar. Keep anything that already works for your business.
3 Add your own images, if you have them
If you have a photo you’d like to use, open Uploads → Upload files and choose it. Drag your photo over the existing one until it snaps into the frame.
The first crop might not be quite right, so double-click the image to adjust what’s visible, then choose Done.
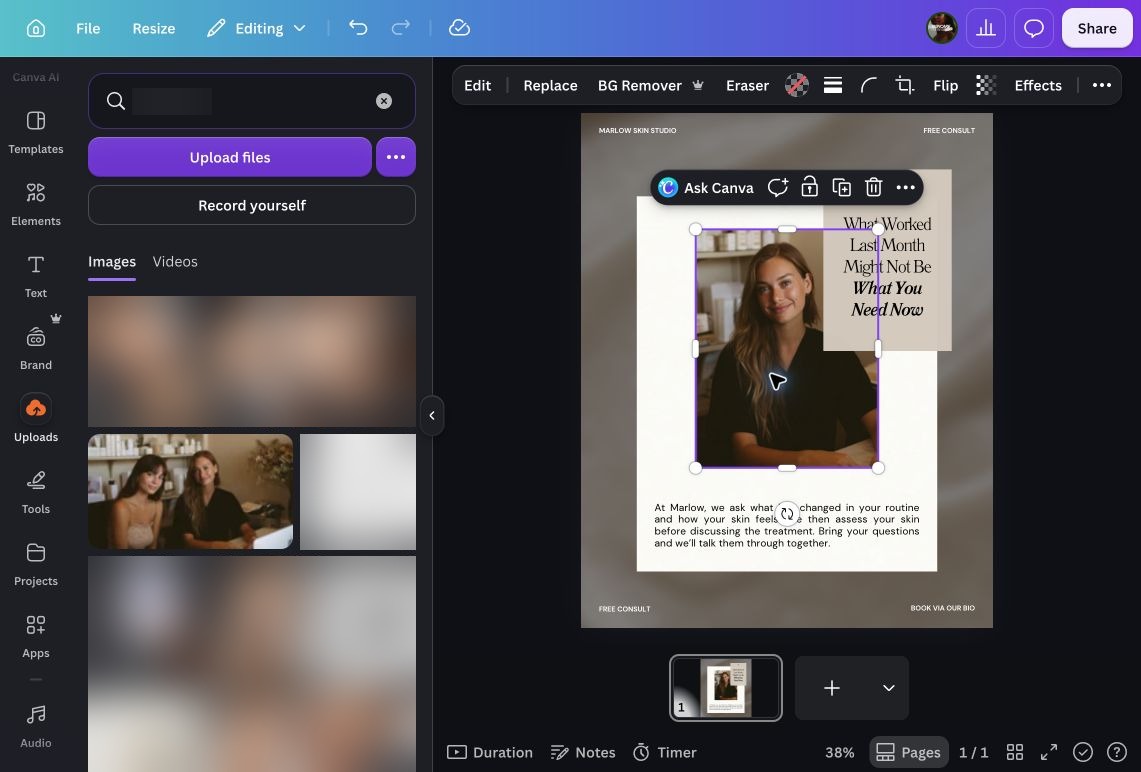
In our example, the new portrait uses the existing frame, with a soft, neutral backdrop around it. The rest of the layout stays in place.
It’s okay if you don’t have a new photo for every post. Keep the template’s image when it suits the subject, or use a relevant photo of your room or tools when you have one.
4 Download your post
When you’re happy with the design, open the page menu and choose Download page. Select PNG for a still post like the one we’ve made here.
Before you download, check that you’ve selected your edited page. With the original still in the file, it’s an easy detail to overlook.
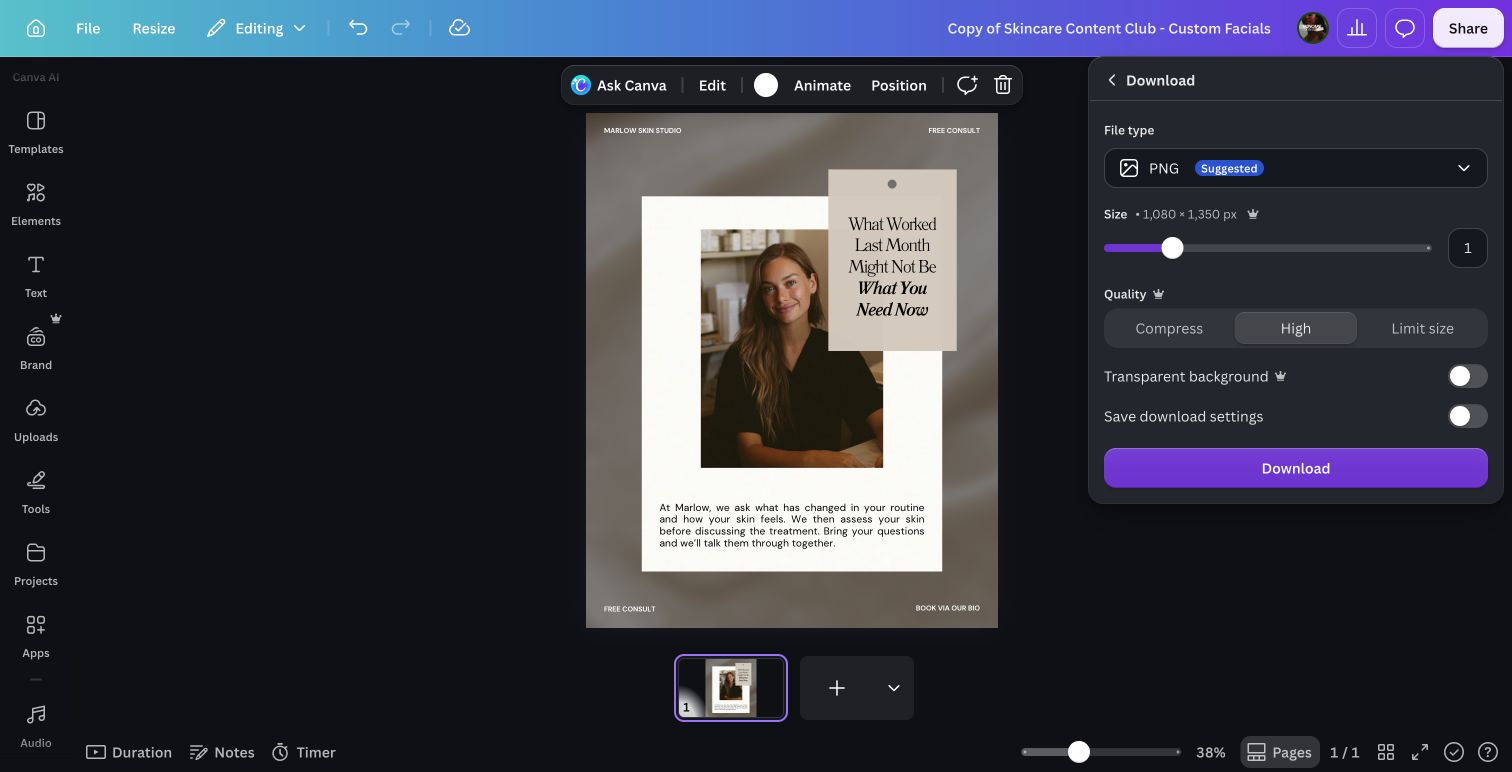
If you’re following along with a carousel, download your finished slides in order. For an animated post, choose a video format so the movement is included.
Before you publish
You’ve done the editing. Now give the finished post a quick check on your phone, where your clients are likely to see it. The numbers on our example point to the same details to check in yours:
- 1The words sound like you.
Read through your service description once more. Make sure it reflects what you actually offer and that you can comfortably read the text on your phone.
- 2Your business name is correct.
Give the spelling a quick check, and look for any example names you still need to replace.
- 3The image and style fit.
Look at the post alongside your other content. Check that the colours and fonts feel consistent, and that the crop keeps faces and important details in view.
- 4The next step works.
If you’ve written “Book via our bio,” try the link yourself and check it opens your booking page. Include that same invitation in your caption so it’s easy to find.
Once you’re happy with it, keep your edited Canva design for next time. You’ll already have your colours, wording and business details to refer back to.
For now, you’ve taken one post from a template to something that fits your business. When you’re ready to make the next one, you can come back to these same steps.